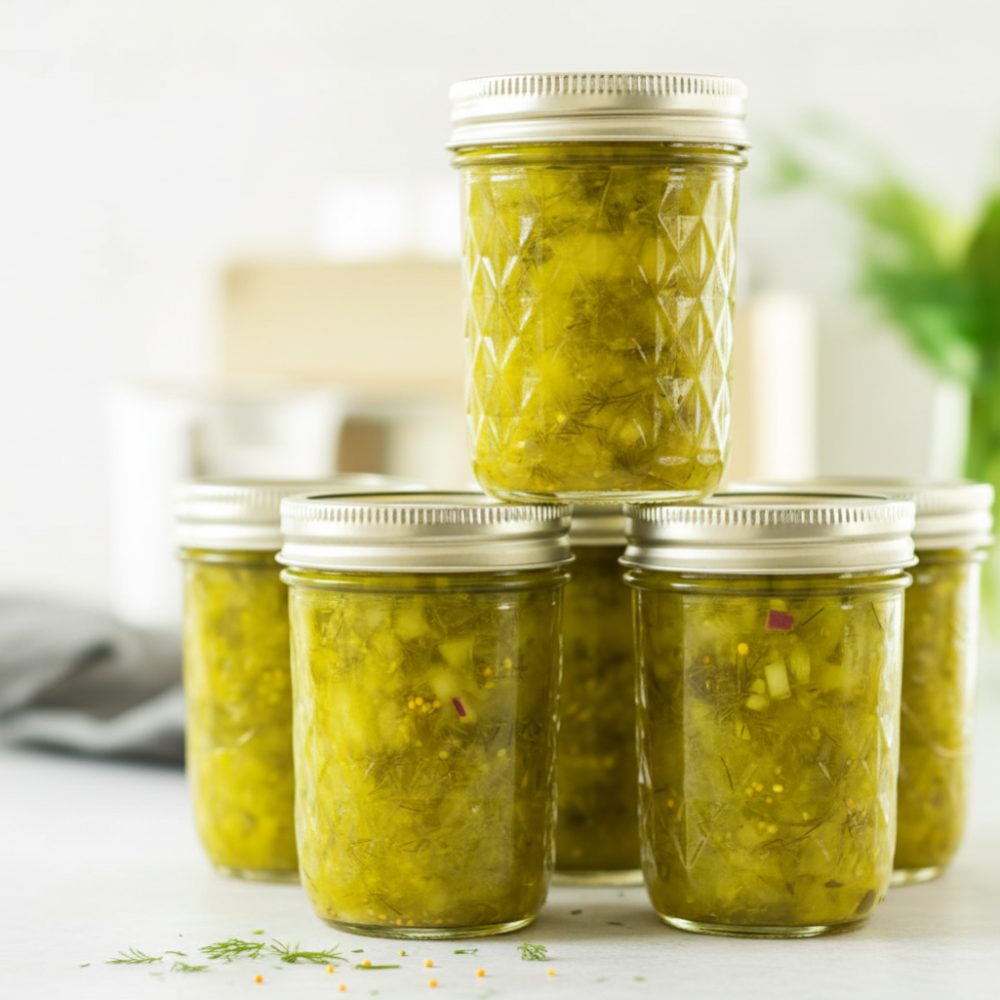
Crafting your own dill pickle relish is a rewarding culinary endeavor that brings unparalleled freshness and flavor to your table. Unlike many store-bought options, homemade relish allows you to control every ingredient, ensuring a vibrant, tangy condiment free from artificial preservatives and excessive sugar. This recipe guides you through creating a crisp, flavorful relish that captures the essence of summer cucumbers, perfect for enhancing a myriad of dishes. Learning the art of canning recipes like this not only fills your pantry with deliciousness but also connects you to time-honored food preservation techniques.
Why Make Your Own Tangy Condiment?
The appeal of a homemade condiment lies in its superior taste and texture. When you make your own dill pickle relish, you experience a depth of flavor that commercial versions simply cannot match. You dictate the balance of sweet, sour, and savory, resulting in a relish tailored to your palate. This control extends to the crispness of the vegetables, which is often lost in mass-produced products. Furthermore, knowing exactly what goes into your food offers peace of mind, making this a smart choice for health-conscious cooks.
Perfect for Potato Salads and Tartar Sauce
This tangy creation is incredibly versatile in the kitchen. Its bright, briny notes make it an essential tartar sauce ingredient, cutting through the richness of fried fish or shellfish. Beyond that, a spoonful of homemade relish elevates classic potato salads, adding a much-needed crunch and a piquant counterpoint to creamy dressings. Imagine topping hot dogs, hamburgers, or grilled sausages with a generous dollop of this vibrant relish. It also acts as a fantastic addition to chicken salads, deviled eggs, or even as a zesty spread in sandwiches, proving itself an indispensable staple for any pantry.
Equipment and Ingredients Needed
To embark on your relish-making journey, gather a few essential kitchen tools. You will need a large non-reactive bowl, a fine-mesh strainer, and a large stainless steel pot for boiling the brine and for water bath canning. For the canning process itself, ensure you have sterilized canning jars with lids and rings, a canning funnel, and a jar lifter.
Fresh Produce Selection (Cucumbers and Red Onion)
The foundation of any great relish is fresh, high-quality produce. For this dill pickle relish, select firm, unwaxed pickling cucumbers. These varieties tend to have fewer seeds and a crisp texture ideal for relish. Choose cucumbers that are bright green and free from blemishes. Similarly, select a firm, red onion that is free of soft spots. The red onion contributes a subtle sweetness and a beautiful color to the final product. The quality of your raw ingredients directly impacts the final taste and texture of your homemade condiment.
Essential Spices (Mustard Seeds, Fresh Dill)
The distinctive flavor profile of this relish comes from a careful blend of spices and fresh herbs. Mustard seeds, particularly yellow mustard seeds, provide a classic pickling spice note, adding a subtle pungency and warmth. Their slight bitterness balances the sweetness of the sugar. However, the star of the show is undeniably fresh dill. Using fresh dill rather than dried dill weed imparts a brighter, more aromatic, and truly authentic dill flavor that permeates the relish. Additionally, you will need high-quality pickling salt, which is free of anti-caking agents that can cloud pickling liquids. White vinegar is crucial for both flavor and preservation, providing the necessary acidity for safe canning. Celery seeds also contribute a mild, earthy note that complements the other flavors.
Step-by-Step Preparation Guide
Creating this delicious homemade dill pickle relish involves several straightforward steps. Following these instructions carefully will ensure a perfectly preserved and flavorful condiment.
1. Salting and Resting the Vegetables
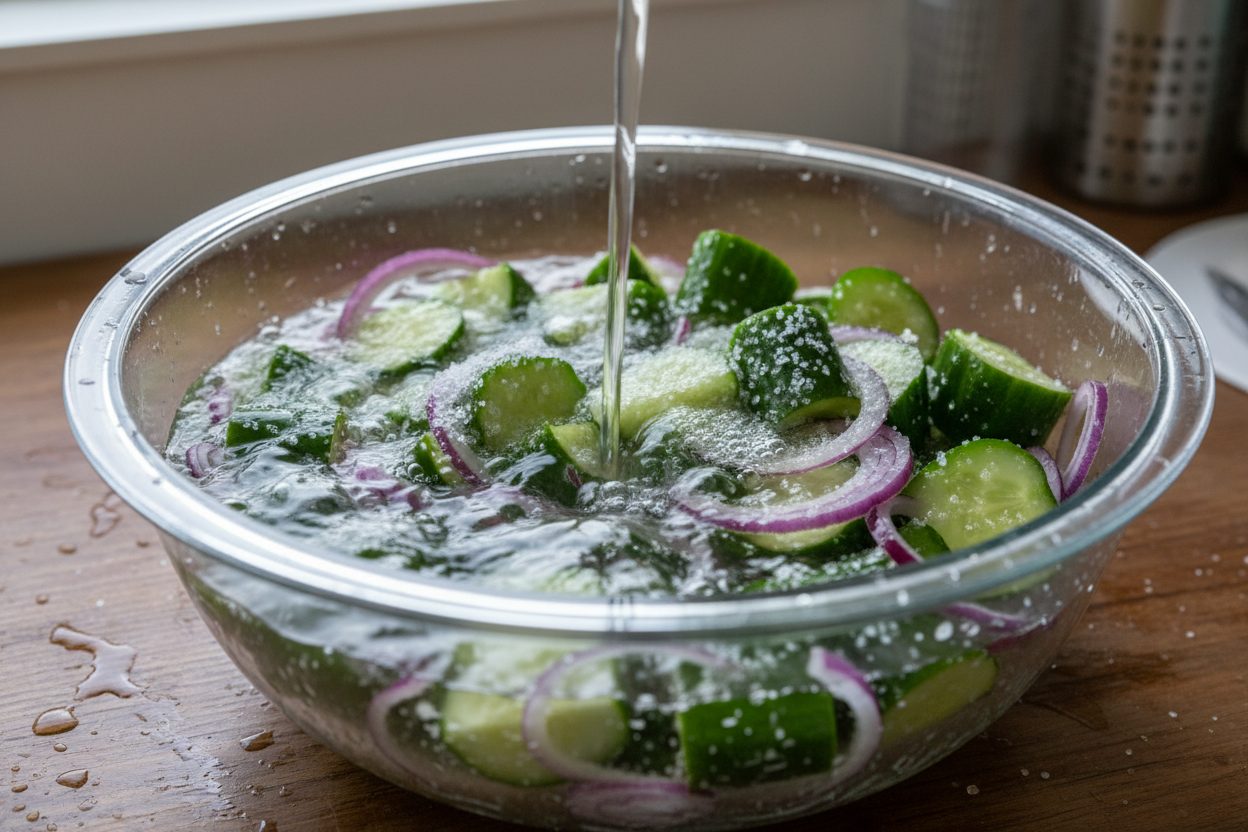
Begin by preparing your vegetables. Take your chopped cucumbers and red onion and combine them in a large glass bowl. Add a generous amount of pickling salt, tossing thoroughly to ensure an even coating. This initial salting step is critical. It helps draw out excess moisture from the vegetables, which is key to achieving a crisp, crunchy relish. Once tossed, cover the vegetables with cold water. Let the mixture sit for 2 hours. During this resting period, the salt works its magic, conditioning the vegetables for the pickling process.
2. Rinsing and Draining
After the 2-hour resting period, the vegetables will have released a significant amount of liquid. Carefully drain the vegetable mixture through a fine-mesh strainer. It is imperative to rinse the vegetables thoroughly with cold water. This step removes any residual excess salt, preventing the relish from being overly salty. After rinsing, press out as much liquid as possible from the vegetable mixture. You can do this by pressing down on the vegetables in the strainer with the back of a spoon, or by gently squeezing small batches in a clean kitchen towel. The drier the vegetables, the crisper the final relish will be.
3. Boiling the Brine
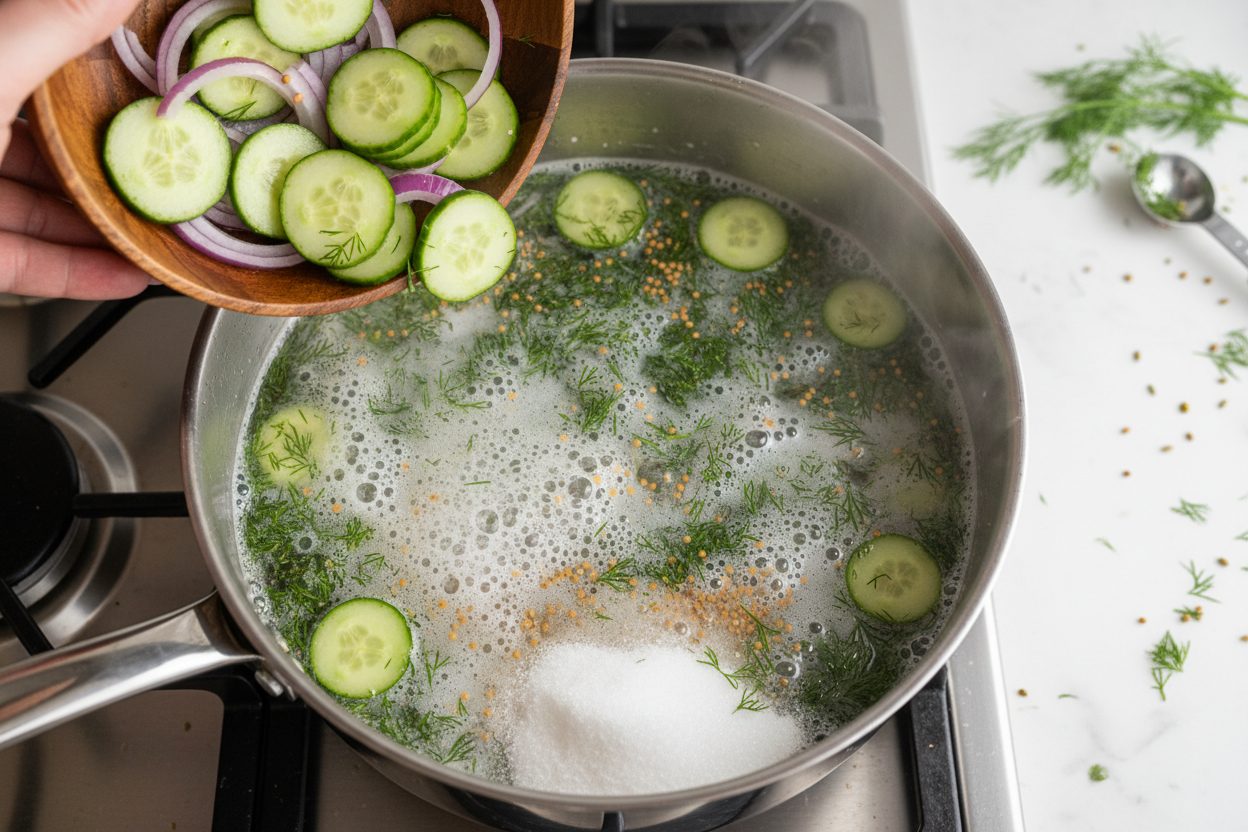
Next, prepare the flavorful brine. In a large stainless steel pot, combine the white vinegar, water, sugar, fresh dill, mustard seeds, and celery seeds. The stainless steel pot is preferred as it will not react with the vinegar. Stir the mixture to dissolve the sugar. Bring this brine mixture to a rolling boil over medium-high heat. Allow it to boil for a few minutes to ensure all the flavors meld together and the sugar is fully dissolved. The aroma of the vinegar and spices will begin to fill your kitchen, signaling the start of something delicious.
4. Simmering the Mixture
Once the brine is at a steady boil, carefully add the drained cucumbers and onions to the hot liquid. The temperature of the brine will drop slightly, but quickly return to a simmer. Reduce the heat to low or medium-low, just enough to maintain a gentle simmer. Simmer the mixture for exactly 10 minutes. This brief simmering time allows the vegetables to absorb the flavors of the brine without becoming overly soft. It also helps to tenderize them just enough while maintaining their desirable crunch. Stir occasionally to ensure even cooking.
5. Canning and Storing
With the relish mixture simmered, it is time for the final canning stage. While the relish is still hot, carefully ladle it into your pre-sterilized canning jars. Use a canning funnel to keep the jar rims clean. Leave precisely 1/2-inch headspace between the top of the relish and the rim of the jar. Remove any air bubbles by gently tapping the jars on the counter or using a non-metallic utensil to run around the inside of the jar. Wipe the rims clean with a damp cloth, center the lids, and screw on the bands finger-tight. Process the jars in a boiling water bath canning system for 15 minutes. Ensure the jars are completely submerged in the boiling water. After processing, carefully remove the jars and let them cool undisturbed on a wire rack for 12-24 hours. Check for seals; lids should be concave and not flex when pressed. Any unsealed jars should be refrigerated and consumed within a few weeks.
Pro Cooking Tips for Maximum Crunch
Achieving that signature crunch in your dill pickle relish is key. Always start with the freshest, firmest pickling cucumbers you can find. Overripe or soft cucumbers will result in a mushy relish. The salting step is not merely for seasoning; it is crucial for drawing out excess water, which helps maintain the vegetable’s integrity during the pickling process. Do not skip or shorten the 2-hour resting time. When rinsing the vegetables, ensure you press out as much liquid as possible. This prevents dilution of your brine and helps keep the relish crisp. During the simmering stage, stick to the 10-minute timeframe. Overcooking the relish will lead to soft, undesirable textures. Finally, processing in a boiling water bath for exactly 15 minutes is essential for safety and for proper sealing, which also contributes to the longevity of the relish’s texture.
Serving Suggestions and Storage Variations
Once your homemade dill pickle relish is ready, its uses are endless. Beyond the classic hot dog and hamburger topping, consider stirring it into chicken or tuna salad for an extra burst of flavor and texture. It adds a delightful tang to coleslaw or can be mixed with cream cheese for a quick and easy spread. This relish also pairs wonderfully with grilled fish, acting as a vibrant counterpoint to rich flavors. Properly canned jars of relish, stored in a cool, dark place, will maintain their quality for up to one year. Once a jar is opened, it must be refrigerated and consumed within 2-3 weeks for optimal freshness and safety. For unsealed jars after the canning process, or if you prefer not to can, the relish can be stored in the refrigerator for up to 3 weeks.
Frequently Asked Questions
- What kind of cucumbers are best for this relish?
- Pickling cucumbers are ideal due to their firm texture and minimal seeds. Kirby or gherkin varieties work very well.
- Can I reduce the sugar in the recipe?
- While sugar contributes to the flavor balance, it also plays a role in the pickling process. Slight reductions may be possible, but drastic changes can affect the final taste and potentially the safety of canned goods. For canning, it’s best to stick to the recipe.
- How long does homemade dill pickle relish last?
- Properly processed and sealed jars of homemade relish can last for up to one year when stored in a cool, dark pantry. Once opened, refrigerate and consume within 2-3 weeks.
- Why is the salting step so important?
- Salting draws out excess water from the cucumbers and onions, which helps them retain their crispness during the pickling process. It also contributes to the overall flavor and texture of the relish.
- Do I have to use water bath canning?
- For shelf-stable relish that can be stored at room temperature, water bath canning is necessary. This process creates a vacuum seal and prevents spoilage. If you plan to consume the relish within 2-3 weeks, you can skip canning and store it directly in the refrigerator.
Making your own dill pickle relish is a satisfying culinary project that yields a delicious and versatile homemade condiment. The fresh taste and satisfying crunch are simply unmatched. Take pride in filling your pantry with this delightful creation, ready to elevate any meal.
For more delicious canning recipes and culinary inspiration, be sure to follow our Facebook page.
Homemade Dill Cucumber Relish
Ingredients
- 4 cups Cucumbers finely chopped
- 1 cup Red onion finely chopped
- 2 tbsp Pickling salt for drawing out moisture
- 2 cups White vinegar 5% acidity for canning
- 1/2 cup Water filtered
- 1/4 cup Sugar optional
- 1/4 cup Fresh dill minced
- 1 tbsp Mustard seeds whole
- 1 tsp Celery seeds whole
Instructions
- Toss the chopped cucumbers and red onion with pickling salt in a large glass bowl. Cover with cold water and let sit for 2 hours to draw out excess moisture.
- Drain the vegetable mixture in a fine-mesh strainer and rinse thoroughly with cold water. Press out as much liquid as possible.
- In a large stainless steel pot, combine the white vinegar, water, sugar, fresh dill, mustard seeds, and celery seeds. Bring the mixture to a boil over medium-high heat.
- Add the drained cucumbers and onions to the boiling brine. Reduce heat and simmer for 10 minutes.
- Ladle the hot mixture into sterilized canning jars, leaving 1/2-inch headspace. Process in a boiling water bath for 15 minutes to seal.
For more daily recipes and tips, follow us on Facebook!
Click here to join our community!