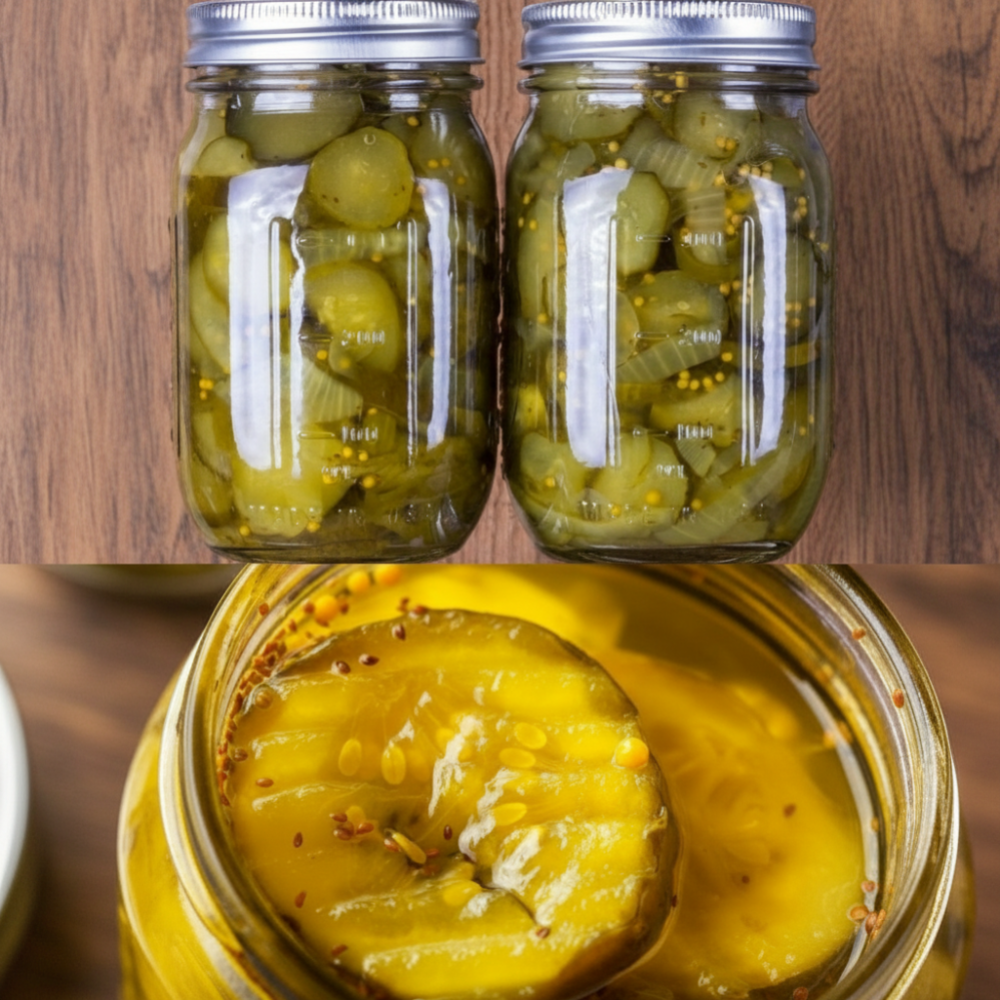
The aroma of spices simmering with vinegar and sugar often transports us back to simpler times, evoking memories of grandmothers expertly preserving the harvest. This cherished tradition of home canning is more than just a method of food storage; it is a connection to a rich culinary heritage, a way to capture summer’s bounty, and a source of unparalleled flavor. Among the pantheon of preserved delights, Bread and Butter Pickles stand out as a beloved classic. These distinctive sweet and sour pickles offer a vibrant crunch and a complex taste that store-bought versions simply cannot replicate. Learning to make them yourself ensures every bite is bursting with fresh, authentic flavor, making them a staple you will reach for again and again.
Our take on this timeless grandmas pickling recipe focuses on creating perfectly balanced sweet cucumber slices, imbued with just the right amount of tang and aromatic warmth. The satisfaction of lining up jars of your own homemade pickles, glistening with a vibrant hue, is immense. This recipe isn’t just about food; it is about embracing a fulfilling aspect of simple, resourceful living and providing your family with the very best. Forget the bland, overly sweet, or artificially flavored options from the grocery store. Prepare to elevate your pantry with pickles that boast exceptional texture and a truly unforgettable taste.
What Makes This Recipe Special
The magic of these homemade Bread and Butter Pickles lies in their exquisite balance. We aim for a harmony between the piquant notes of vinegar, the natural sweetness of sugar, and the earthy warmth of classic pickling spices. This careful orchestration of flavors results in a pickle that is neither too sharp nor too cloying. Instead, it offers a refreshing pop of taste that complements a wide array of dishes.
Their vibrant, crisp texture and distinct sweet-tart profile make them incredibly versatile. Imagine adding a bright, tangy crunch to your everyday meals. These sweet cucumber slices are perfect nestled into a juicy BEEF sandwich, cutting through the richness with their lively acidity. They are also a stellar addition to relish trays, providing a colorful and flavorful counterpoint to cheeses and cured meats. Beyond these traditional uses, finely chopped Bread and Butter Pickles can transform ordinary salads into something extraordinary. Mix them into your chicken salad, tuna salad, or egg salad for an instant burst of flavor and a welcome textural contrast. They are a simple yet powerful ingredient that can significantly enhance your culinary creations.
Ingredients Needed
To embark on your pickling journey, gather these essential ingredients:
- 4 lbs pickling cucumbers (thinly sliced)
- 1 large sweet onion (thinly sliced)
- 1/4 cup Kosher salt
- 2 cups White vinegar (5% acidity)
- 1 cup Apple cider vinegar (5% acidity)
- 2.5 cups Granulated sugar
- 2 tbsp Mustard seed
- 1 tsp Celery seed
- 1 tsp Turmeric
Step-by-Step Instructions
Following these steps precisely will ensure you achieve perfectly crisp, flavorful Bread and Butter Pickles every time. Pay close attention to the quantities and timings for optimal results in your home canning efforts.
1. Salting the Vegetables
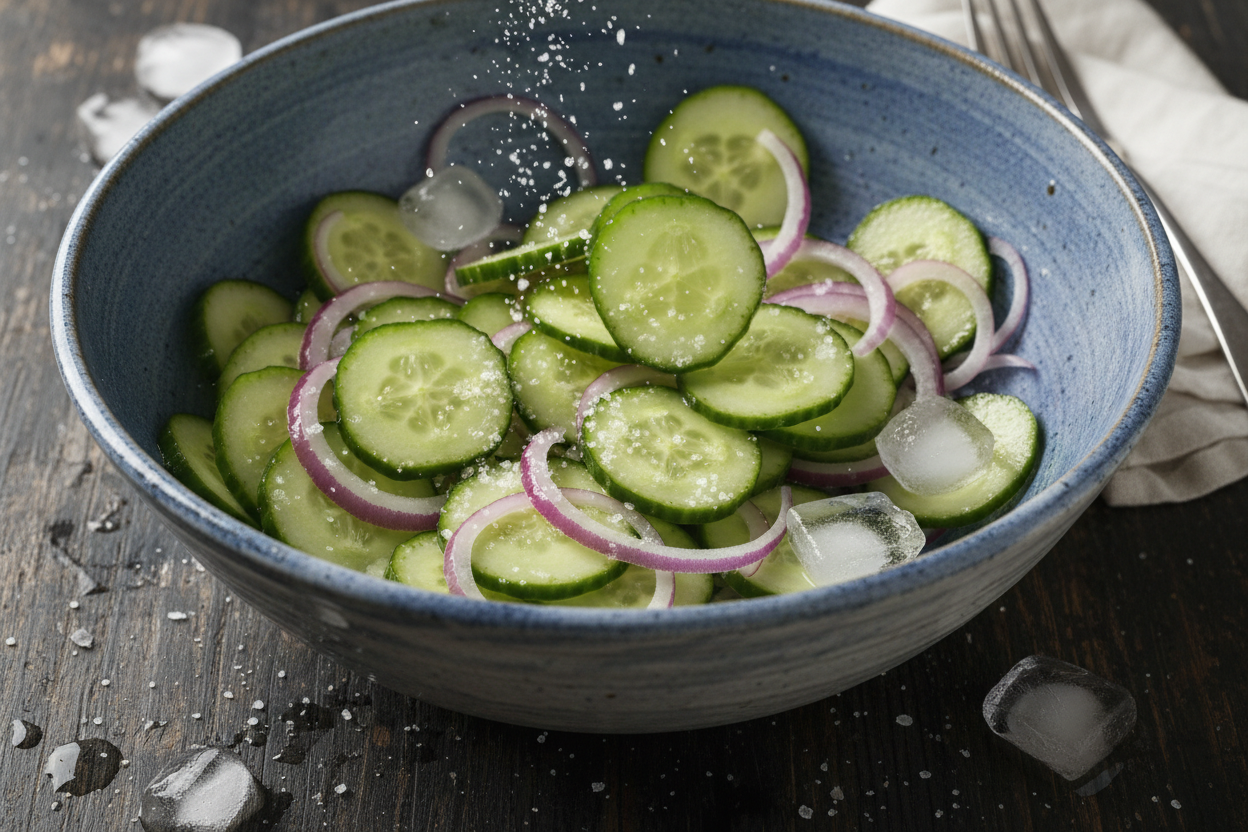
The first crucial step in achieving that signature pickle crunch is to draw out excess moisture from your vegetables. In a very large bowl, combine the thinly sliced 4 lbs of pickling cucumbers and 1 large sweet onion. Toss them thoroughly with 1/4 cup of Kosher salt. Once well-coated, cover the vegetables with a generous amount of ice. Let this mixture sit undisturbed for 3 hours. This process not only removes water, preventing soggy pickles, but also helps to firm up the cucumber slices, contributing to their desirable crispness.
2. Rinsing
After the 3-hour salting period, carefully drain the cucumber and onion mixture, ensuring all the melted ice water is discarded. Rinse the vegetables thoroughly under cold running water. This step is vital to remove the excess salt, preventing your pickles from becoming overly salty. Rinse several times, and then drain them again completely, pressing gently to remove as much residual water as possible. This meticulous rinsing is key to the balanced flavor of your final product.
3. Making the Brine
Now, prepare the flavorful vinegar brine that will transform your cucumbers into pickles. In a large, non-reactive pot, combine 2 cups of white vinegar (5% acidity), 1 cup of apple cider vinegar (5% acidity), and 2.5 cups of granulated sugar. Add your aromatic pickling spices: 2 tbsp of mustard seed, 1 tsp of celery seed, and 1 tsp of turmeric. Bring this mixture to a rolling boil over medium-high heat, stirring occasionally to dissolve the sugar completely. The turmeric will give your pickles their beautiful golden hue.
4. Heating the Cucumbers
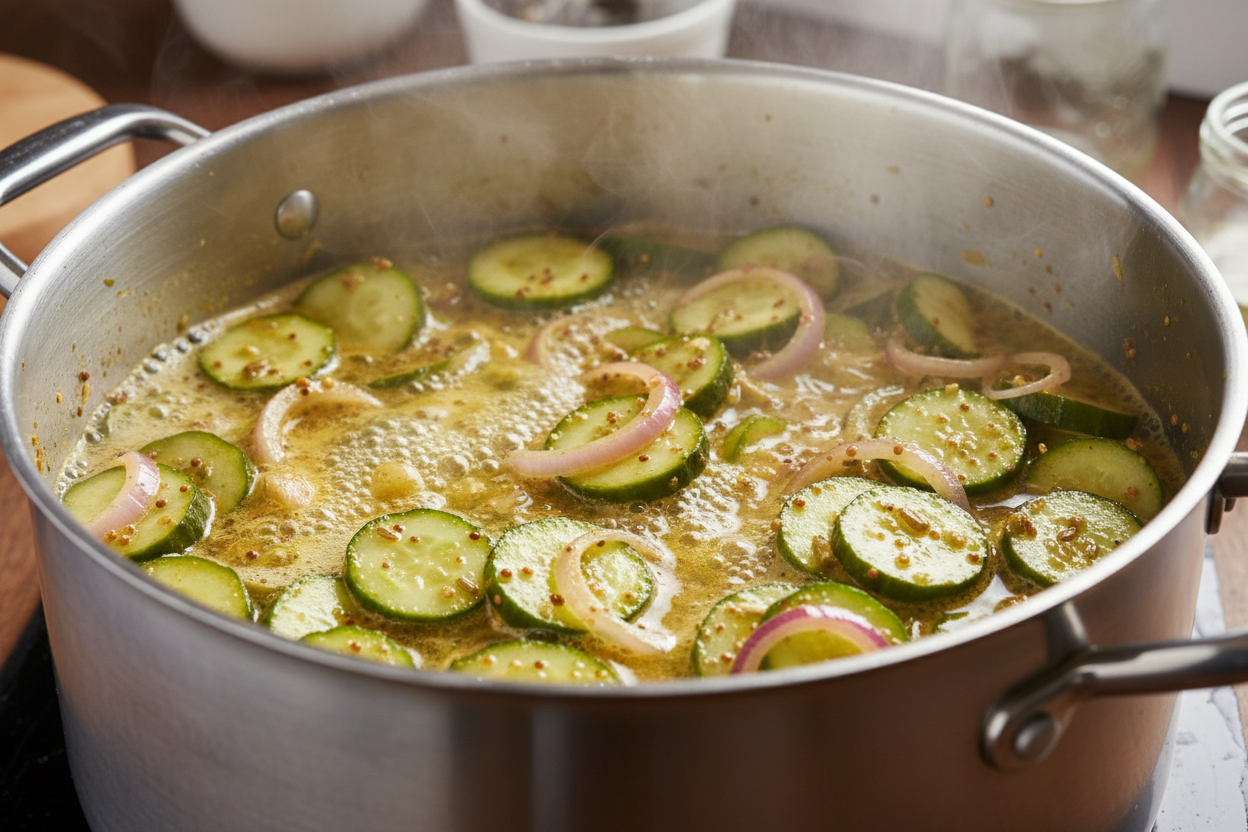
Once your brine is at a rolling boil, add the thoroughly drained cucumber and onion slices to the pot. Stir gently to ensure all the vegetables are submerged in the hot brine. Bring the mixture back to a boil. As soon as it reaches a rolling boil again, immediately remove the pot from the heat. It is important not to overcook the vegetables at this stage, as this can compromise their crisp texture. The brief heating is just enough to infuse them with flavor and prepare them for canning.
5. Packing the Jars
While the vegetables are still hot, carefully pack them into sterilized canning jars. Use a slotted spoon to fill the jars with the cucumber and onion slices, ensuring they are packed relatively tightly but not crushed. Leave 1/2 inch of headspace at the top of each jar. Ladle the hot vinegar brine over the vegetables, making sure they are completely covered and maintaining the 1/2 inch headspace. Remove any air bubbles by gently tapping the jars on your counter or using a non-metallic utensil to release them.
6. Processing
Wipe the rims of the jars clean with a damp cloth. Place new, sterilized two-piece lids (flat lid and screw band) onto the jars and tighten the screw bands finger-tight. Place the filled jars into a boiling water bath canner, ensuring they are fully submerged in water by at least an inch. Bring the water to a rolling boil and process the jars for 10 minutes. This water bath canning step is critical for creating a vacuum seal and ensuring your pickles are shelf-stable. Adjust processing time if you are at a higher altitude, consulting a reliable canning guide.
7. Cooling and Storing
After 10 minutes of processing, carefully remove the jars from the canner using a jar lifter and place them on a clean towel or cooling rack, undisturbed. Allow the jars to cool completely for 24 hours. During this time, you should hear the satisfying “pop” sound as the lids seal. After 24 hours, check the seals by pressing on the center of each lid; it should not flex or move. If any jar did not seal, refrigerate it and consume those pickles first. Store properly sealed jars in a cool, dark place, such as a pantry, away from direct sunlight.
Helpful Cooking Tips and Variations
Achieving perfectly crisp Bread and Butter Pickles is a hallmark of a successful home canning project. The initial salting and ice bath step for the 4 lbs of pickling cucumbers and 1 large sweet onion is not merely a suggestion; it is a critical technique for achieving that desired firm texture. The salt draws out excess water, while the cold ice helps the cucumber cells remain plump and resistant to softening during the heating process. Never skip this step if you want pickles with an ideal snap.
For those who appreciate a little extra zing, consider introducing a touch of heat to your sweet and sour pickles. A pinch of red pepper flakes added to the vinegar brine along with the other pickling spices (2 tbsp mustard seed, 1 tsp celery seed, 1 tsp turmeric) can provide a subtle warmth that enhances the overall flavor profile without overpowering it. Start with 1/4 to 1/2 teaspoon of red pepper flakes and adjust to your preferred level of spiciness in future batches. You might also experiment with a few whole black peppercorns or a small bay leaf in each jar for added aromatic depth, though the core recipe remains robust on its own.
Frequently Asked Questions
Can I skip the water bath canning step?
You can skip the water bath canning step, but doing so changes the nature and storage of your pickles significantly. If you omit the water bath, your pickles will be considered refrigerator pickles. These still offer fantastic flavor but are not shelf-stable. They must be stored in the refrigerator and consumed within a few weeks, typically up to 2-3 months. The 10-minute water bath canning process, as detailed, is essential for creating a vacuum seal and safely preserving the pickles at room temperature for extended periods, usually up to a year. For long-term pantry storage, the water bath is non-negotiable.
How long do they need to sit before eating?
While it is tempting to dive into your fresh batch of Bread and Butter Pickles immediately, patience is a virtue in pickling. For optimal flavor development, allow your pickles to sit for at least two weeks before opening a jar. This waiting period gives the sweet cucumber slices ample time to fully absorb the complex flavors of the vinegar brine and pickling spices. The flavors will meld and deepen, resulting in a far more delicious and well-rounded pickle. They continue to improve in flavor over several months, making them a pantry treasure worth waiting for.
Mastering this Bread and Butter Pickles recipe offers not only a delectable addition to your pantry but also a deep sense of accomplishment. Each jar represents a commitment to quality ingredients, traditional methods, and unforgettable flavor. Enjoy the crisp, sweet, and tangy taste of these homemade delights, knowing you’ve created something truly special.
For more preserving tips, family recipes, and behind-the-scenes glimpses of our culinary adventures, make sure to follow our Facebook page. We love sharing our passion for good food with you.
Granny's Homemade Sweet Pickles
Ingredients
- 4 lbs Pickling cucumbers thinly sliced
- 1 whole Sweet onion large, thinly sliced
- 1/4 cup Kosher salt for drawing out moisture
- 2 cups White vinegar 5% acidity
- 1 cup Apple cider vinegar 5% acidity
- 2.5 cups Granulated sugar
- 2 tbsp Mustard seed
- 1 tsp Celery seed
- 1 tsp Turmeric
Instructions
- Toss sliced cucumbers and onions with kosher salt in a large bowl. Cover with ice and let sit for 3 hours to draw out moisture.
- Drain and rinse the vegetables thoroughly, then discard the ice.
- In a large pot, combine white vinegar, apple cider vinegar, sugar, mustard seed, celery seed, and turmeric. Bring to a rolling boil.
- Add the drained cucumber and onion slices to the boiling brine. Return to a boil, then immediately remove from heat.
- Pack the hot vegetables into sterilized canning jars, leaving 1/2 inch headspace. Ladle the hot liquid over them.
- Seal jars with two-piece lids and process in a boiling water bath for 10 minutes.
- Remove jars and let cool undisturbed for 24 hours before checking seals. Store in a cool, dark place.
For more daily recipes and tips, follow us on Facebook!
Click here to join our community!