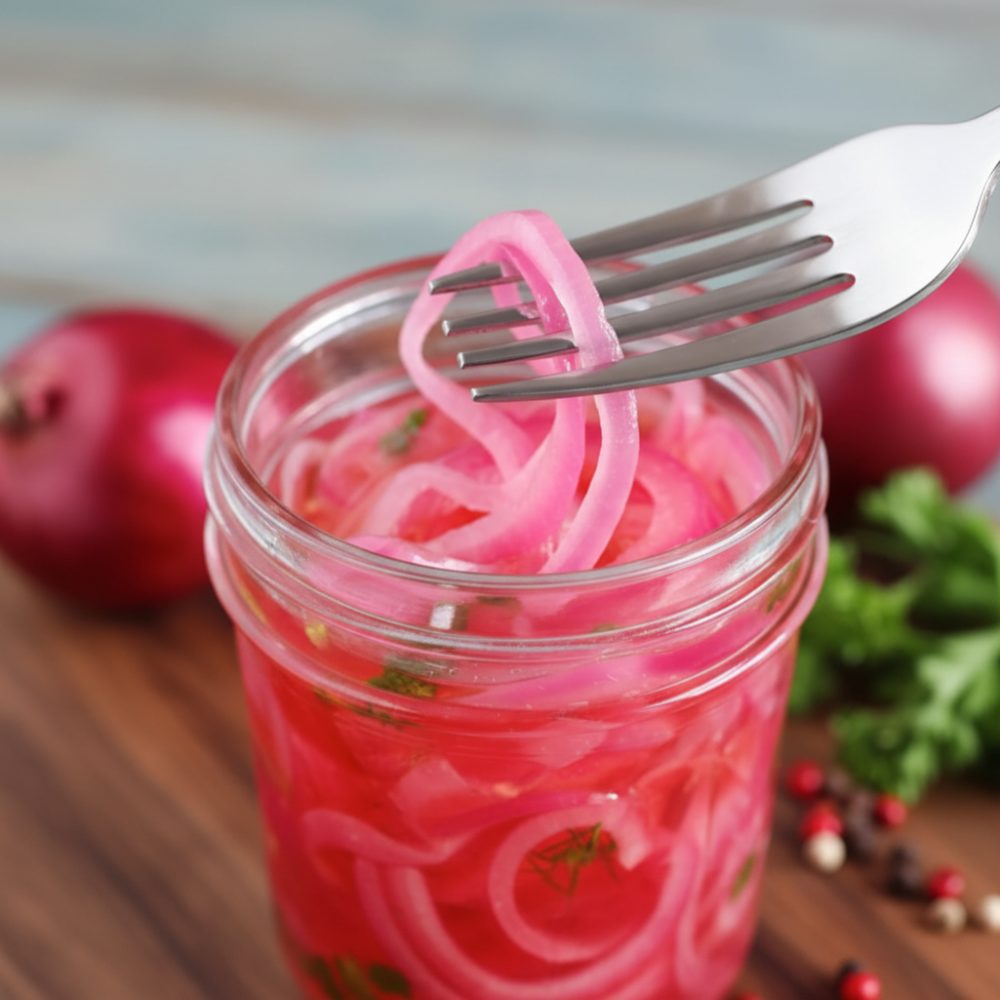
How to Preserve Tangy Red Onions
Discover a simple water bath canning method to create shelf-stable jars of tangy red onions. This technique allows you to capture the vibrant flavor and satisfying crunch of perfectly vinegar brined onions, ensuring you always have a bright, acidic counterpoint ready for any meal. Learning to make your own homemade pickled onions is a rewarding skill that transforms a pantry staple into a versatile culinary asset.
Why Preserve Your Own Tangy Onion Slices?
The sharp flavor of raw onions mellows beautifully when preserved in a vinegar brine. These colorful rings add a bright bite of acidity that balances rich, heavy meals without overwhelming the palate. Beyond their remarkable flavor, there are several compelling reasons to embrace the art of making preserved onion slices.
Firstly, control over ingredients is paramount. When you prepare homemade pickled onions, you dictate the quality of each component. You choose fresh, firm red onions and high-quality vinegar, avoiding the preservatives or artificial flavors often found in commercially prepared versions. This ensures a purer, more natural product for your family.
Secondly, cost-effectiveness becomes a significant factor. Red onions are an affordable vegetable, especially when purchased in season. Transforming three pounds of fresh onions into multiple jars of canned red onions represents substantial savings compared to buying small, specialty jars from the store. This makes preserving a smart choice for budget-conscious cooks who still desire gourmet flavors.
Thirdly, the convenience of having shelf-stable onions on hand cannot be overstated. Imagine needing a quick topping for tacos, a vibrant addition to a salad, or a bright garnish for roasted beef, and simply reaching into your pantry. No last-minute chopping, no worrying about fresh onions going bad. These jars offer instant access to a flavor booster that significantly elevates everyday dishes.
Finally, the process of water bath canning onions is surprisingly straightforward and deeply satisfying. It offers a tangible connection to traditional food preservation methods and provides a sense of accomplishment. The vibrant hue of the tangy red onions in their jars also makes for an attractive display, bringing a touch of homemade charm to your kitchen shelves.
Required Tools for Water Bath Canning
To embark on your journey of creating delicious shelf-stable onions, a few essential tools are necessary. Having the right equipment ensures safety, efficiency, and successful preservation.
- Water bath canner or large stockpot with a rack: This is the cornerstone of the water bath canning method. A dedicated canner will come with a rack and lid, but a very large stockpot (at least 2 inches taller than your tallest jar) with a separate canning rack will also work. The rack keeps the jars from touching the bottom of the pot, allowing water to circulate freely and preventing breakage.
- 4 pint-sized canning jars with new lids and rings: Always use jars specifically designed for canning, as they are tempered to withstand the high temperatures. New lids are crucial for creating a proper vacuum seal. Rings can be reused if they are rust-free and not bent. Inspect all jars for chips or cracks before use.
- Jar lifter: This specialized tong allows you to safely place hot jars into the boiling water and remove them without burning yourself or tipping the jars. It provides a firm, secure grip around the neck of the jar.
- Bubble popper or non-metallic spatula: Essential for releasing trapped air bubbles from the packed jars. This prevents floating ingredients and ensures proper headspace, which is vital for a strong seal. A wooden skewer can also serve this purpose.
- Large saucepan: For preparing your flavorful vinegar brine.
- Cutting board and sharp knife: For thinly slicing the red onions.
- Clean kitchen towels: For wiping jar rims and general clean-up.
Ingredient Breakdown
Crafting exceptional vinegar brined onions relies on a simple yet effective combination of ingredients. Each component plays a vital role in achieving the perfect balance of flavor, acidity, and texture for your canned red onions.
- Red Onions: You will need 3 lbs, which typically amounts to about 4 large onions. The key is to slice them thinly and uniformly. Red onions are chosen for their beautiful color and slightly sweeter, milder flavor compared to yellow onions once pickled. Their crisp texture holds up well to the brine.
- Vinegar and Water: A precise ratio is crucial for safe canning and delicious results. Use 3 cups white vinegar and 3 cups water. White vinegar, with its 5% acidity, is the standard for canning and provides the necessary pH level for preservation. The water dilutes the vinegar, creating a less harsh brine that allows the onion flavor to shine.
- Flavorings: These additions elevate the simple brine into something truly special.
- 2 tbsp pickling salt: Specifically formulated for pickling and canning, pickling salt is free of anti-caking agents and iodine, which can cloud brines or discolor vegetables. It provides essential seasoning without any unwanted effects.
- 2 tbsp sugar: A small amount of sugar helps to balance the tartness of the vinegar, rounding out the flavor profile without making the onions sweet. It enhances the overall taste, creating a more palatable brine.
- 4 dill sprigs: Fresh dill imparts a classic, aromatic flavor that pairs wonderfully with onions. One sprig is added to each pint jar, infusing the onions with its distinct herby notes.
- 2 tsp black peppercorns: These provide a subtle, pungent spice and a hint of warmth to the pickled onions. Half a teaspoon is added to each jar, allowing their flavor to slowly release into the brine.
Step-by-Step Canning Process
Follow these detailed steps to successfully create your batch of homemade pickled onions, ready to enjoy for months to come. Precision and hygiene are key throughout this process.
Step 1: Prep the Ingredients
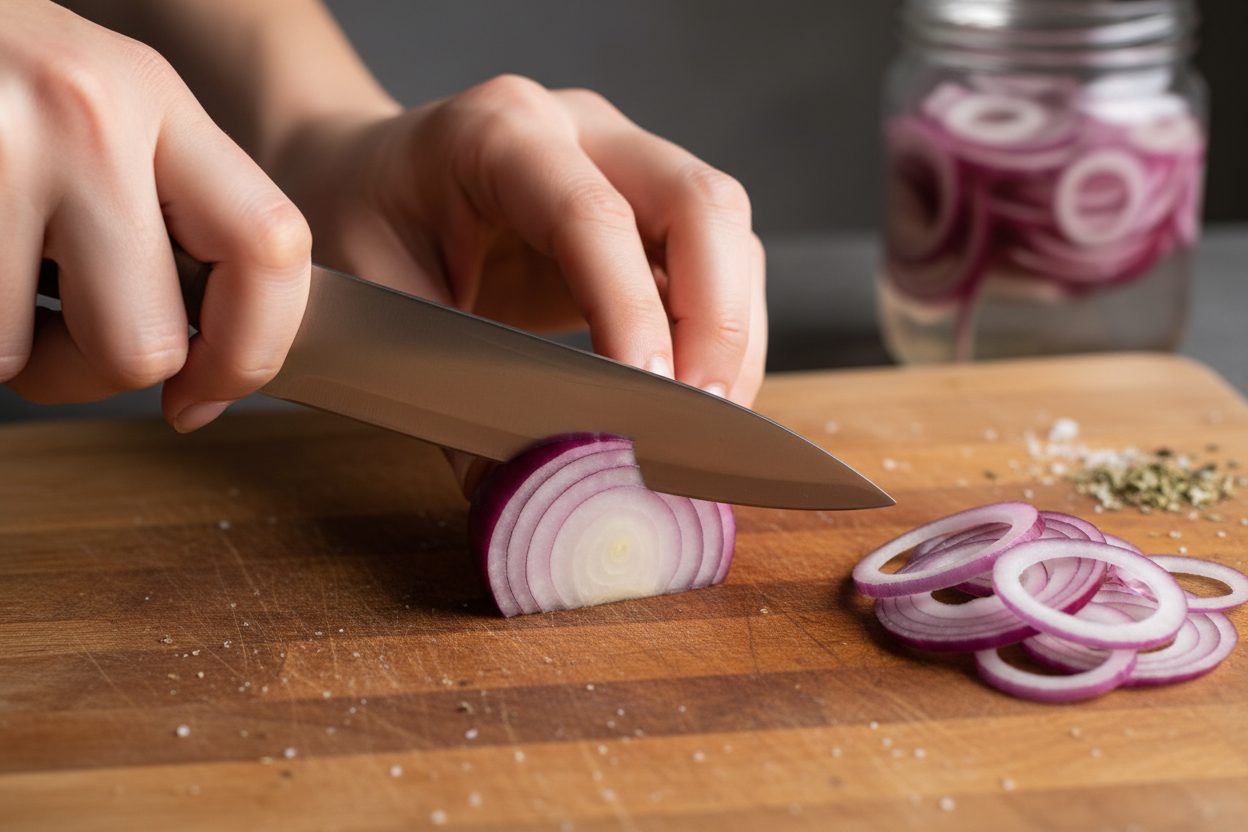
Begin by meticulously preparing your red onions. Wash the 3 lbs of red onions thoroughly under cold running water. Next, carefully peel away the outer papery layers. Using a sharp knife or a mandoline, thinly slice all the onions into uniform rings. Aim for a consistent thickness, as this ensures even pickling and a pleasant texture. While you are preparing the onions, it is essential to sterilize 4 pint jars. You can do this by washing them thoroughly in hot, soapy water and then keeping them hot in a water bath canner, a dishwasher on a sanitize cycle, or a low oven. Keep the jars hot until ready to fill to prevent thermal shock when adding hot brine.
Step 2: Make the Brine
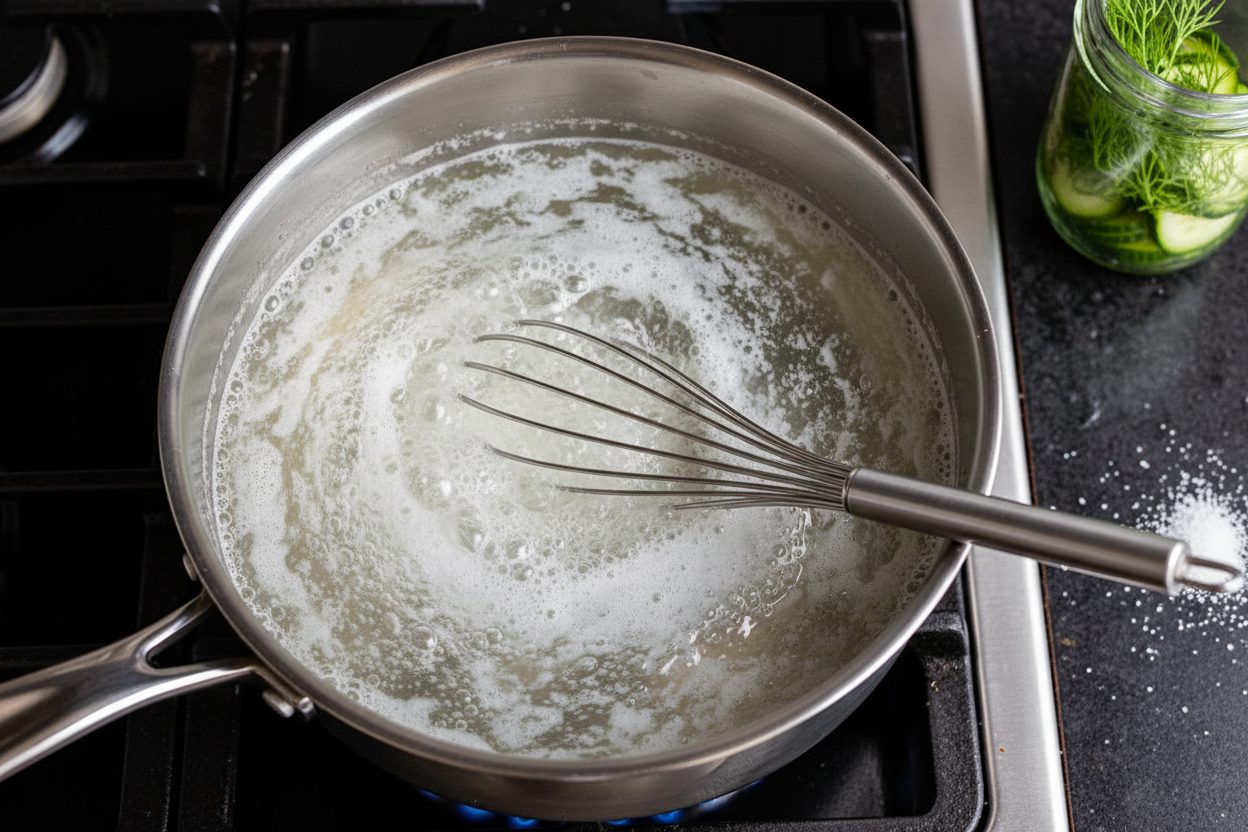
In a large, non-reactive saucepan, combine the liquid and seasoning ingredients for your pickling brine. Pour in 3 cups white vinegar and 3 cups water. Add 2 tbsp pickling salt and 2 tbsp sugar. Place the saucepan over medium-high heat and bring the mixture to a rolling boil. Stir occasionally to ensure that the sugar and salt completely dissolve. Once dissolved, reduce the heat to a simmer to keep the brine hot until ready to use. A hot brine is crucial for safe canning and helps to properly extract flavors.
Step 3: Pack the Jars
Carefully remove one hot, sterilized pint jar from your canner or oven. Into the bottom of each hot jar, place 1 dill sprig and 1/2 tsp black peppercorns. These aromatics will infuse the onions with their characteristic flavors as they pickle. Then, begin to tightly pack the thinly sliced red onions into each jar. It’s important to pack them as snugly as possible without crushing them, as the onions will shrink slightly during the canning process. Use a clean utensil to help press them down, ensuring maximum onion per jar while still allowing space for the brine.
Step 4: Add Brine and Remove Bubbles
Once the onions are tightly packed, carefully pour the hot brine over the onions in each jar. Use a canning funnel to prevent spills and ensure the brine reaches every crevice. Fill each jar, leaving a precise 1/2-inch headspace from the rim of the jar. This headspace is critical for proper sealing. Next, slide a bubble popper or a non-metallic spatula around the inside edges of each jar. This action releases any trapped air bubbles that may be clinging to the onions. Trapped air can prevent a proper seal. After removing bubbles, check the headspace again; if it has fallen below 1/2 inch, add a little more hot brine to correct it.
Step 5: Process in Water Bath
Before sealing, wipe the rims clean with a damp, clean cloth. Any food particles or brine residue on the rim can prevent a proper seal. Place a new, clean lid onto each jar, centering it carefully. Then, screw on the metal bands to fingertip tight – this means turning until you feel resistance, but do not overtighten, as air needs to escape during processing. Using your jar lifter, carefully place the filled jars onto the rack in your water bath canner, ensuring they are not touching each other or the sides of the pot. The water level should cover the tops of the jars by at least 1-2 inches. Bring the water to a rolling boil and then begin timing. Process the jars in the boiling water bath for 10 minutes. After 10 minutes, turn off the heat, remove the canner lid, and let the jars sit in the hot water for 5 minutes before carefully removing them with the jar lifter. Place the hot jars on a clean towel on a countertop, spaced apart, and let them cool undisturbed for 24 hours. You should hear a pinging sound as the lids seal. After 24 hours, check for seals by pressing the center of each lid; it should not flex. If a jar hasn’t sealed, refrigerate and consume within a few weeks.
Serving Suggestions
These vibrant tangy red onions are incredibly versatile and can elevate a wide array of dishes. Their bright acidity and crisp texture provide a refreshing contrast to rich flavors and add a pop of color to any plate.
- Tacos and Fajitas: A classic pairing. The acidity of the pickled onions cuts through the richness of beef tacos, al pastor, or any grilled beef fajitas. They add a fresh, tangy crunch that is simply irresistible.
- Sandwiches and Burgers: Forget plain raw onion. Layer these preserved onion slices onto your favorite deli sandwiches, pulled beef sliders, or hearty burgers. They provide an instant gourmet upgrade, offering a bright, zesty counterpoint to savory meats and cheeses.
- Salads: Chop or thinly slice the canned red onions and toss them into green salads, grain bowls, or even potato and pasta salads. They introduce a delightful tang and visual appeal, transforming an ordinary salad into something more dynamic.
- Roasted Meats: Serve alongside roasted beef, grilled steaks, or any rich meat dish. The bright, acidic notes of the onions provide a much-needed balance, cleansing the palate and enhancing the overall eating experience.
- Grain Bowls and Appetizers: Sprinkle over hummus, avocado toast, or grain bowls for an instant flavor and texture boost. They also make an excellent addition to charcuterie boards, offering a piquant bite next to cheeses and cured meats.
- Breakfast Dishes: Unexpected but delicious. Add a few slices to scrambled eggs, omelets, or even on top of a savory breakfast sandwich for a surprising burst of flavor that wakes up your taste buds.
Frequently Asked Questions
Here are some common inquiries about making and enjoying your homemade pickled onions.
“Mastering the simple technique of water bath canning onions opens up a world of culinary possibilities. These preserved onion slices are not just a condiment; they’re a flavor foundation.”
How long do these shelf-stable onions last once canned?
Properly processed and sealed jars of canned red onions will remain shelf-stable for up to one year when stored in a cool, dark place. Once a jar is opened, it should be refrigerated and consumed within 2-3 weeks for optimal freshness and flavor. Always ensure the lid remains concave before opening to confirm the seal is intact.
Can I use a different type of vinegar for these vinegar brined onions?
For safety in water bath canning, it is crucial to use vinegar with at least 5% acidity. White vinegar is recommended in this recipe for its neutral flavor profile, allowing the onion and spice notes to shine. Apple cider vinegar can also be used if it has 5% acidity, though it will impart a slightly fruitier flavor to your homemade pickled onions. Avoid using vinegars with lower acidity levels like rice vinegar, or flavored vinegars, as they may not provide sufficient acidity for safe preservation.
What if my onions aren’t as bright red after canning?
It is common for red onions to lose some of their vibrant purple hue during the pickling and canning process. The acidity of the brine can cause the pigments to change, often resulting in a slightly pinker or muted red color. This is a natural occurrence and does not affect the flavor or safety of your tangy red onions.
Can I adjust the amount of dill or peppercorns?
Yes, you can adjust the quantities of the specified flavorings to suit your personal preference. For a more pronounced dill flavor, you could add a slightly larger sprig to each jar. Similarly, if you prefer a spicier kick, a little extra black peppercorns could be added. However, always ensure you stick to the specified amounts of vinegar, water, salt, and sugar, as these are critical for the safety and preservation of your canned red onions.
Do I need to heat the jars before filling?
Yes, heating the jars before filling with hot brine and onions is crucial. This practice, known as sterilizing, ensures any bacteria are eliminated, and it also prevents thermal shock, which could cause cold jars to crack when filled with hot ingredients or placed into a boiling water bath. Always work with hot jars when making water bath canning onions.
Mastering the art of preserving your own tangy red onions is a truly rewarding experience, providing you with a versatile and flavorful ingredient year-round. These homemade pickled onions are a testament to how simple techniques can yield extraordinary results. For more culinary tips, recipes, and food adventures, be sure to follow our community on Facebook. We love sharing our passion for food and hearing about your kitchen successes.
Follow us for more delicious ideas: Our Facebook Page
Shelf-Stable Tangy Red Onions
Ingredients
- 3 lbs Red onions Peeled and thinly sliced
- 3 cups White vinegar 5% acidity
- 3 cups Water Filtered preferred
- 2 tbsp Pickling salt Do not use table salt
- 2 tbsp Granulated sugar For balancing the acidity
- 4 sprigs Fresh dill sprigs One for each jar
- 2 tsp Black peppercorns Divided among jars
Instructions
- Wash, peel, and thinly slice the red onions. Prepare a water bath canner and heat 4 pint jars.
- In a medium saucepan, combine the white vinegar, water, pickling salt, and granulated sugar. Bring to a boil, stirring until the salt and sugar completely dissolve.
- Place 1 sprig of fresh dill and 1/2 tsp of black peppercorns into each hot pint jar. Pack the sliced onions tightly into the jars.
- Pour the hot brine over the packed onions, leaving a 1/2-inch headspace at the top of each jar.
- Run a non-metallic tool around the inside of the jars to remove trapped air bubbles. Add more brine if needed to maintain the 1/2-inch headspace.
- Wipe the jar rims with a clean, damp cloth. Center the lids on the jars and apply the bands until fingertip tight.
- Place the jars in the boiling water bath canner, ensuring they are completely submerged by at least 1 inch of water. Process for 10 minutes.
- Turn off the heat, remove the canner lid, and let the jars sit in the water for 5 minutes before transferring them to a towel-lined counter to cool completely for 24 hours. Check seals before storing.
For more daily recipes and tips, follow us on Facebook!
Click here to join our community!