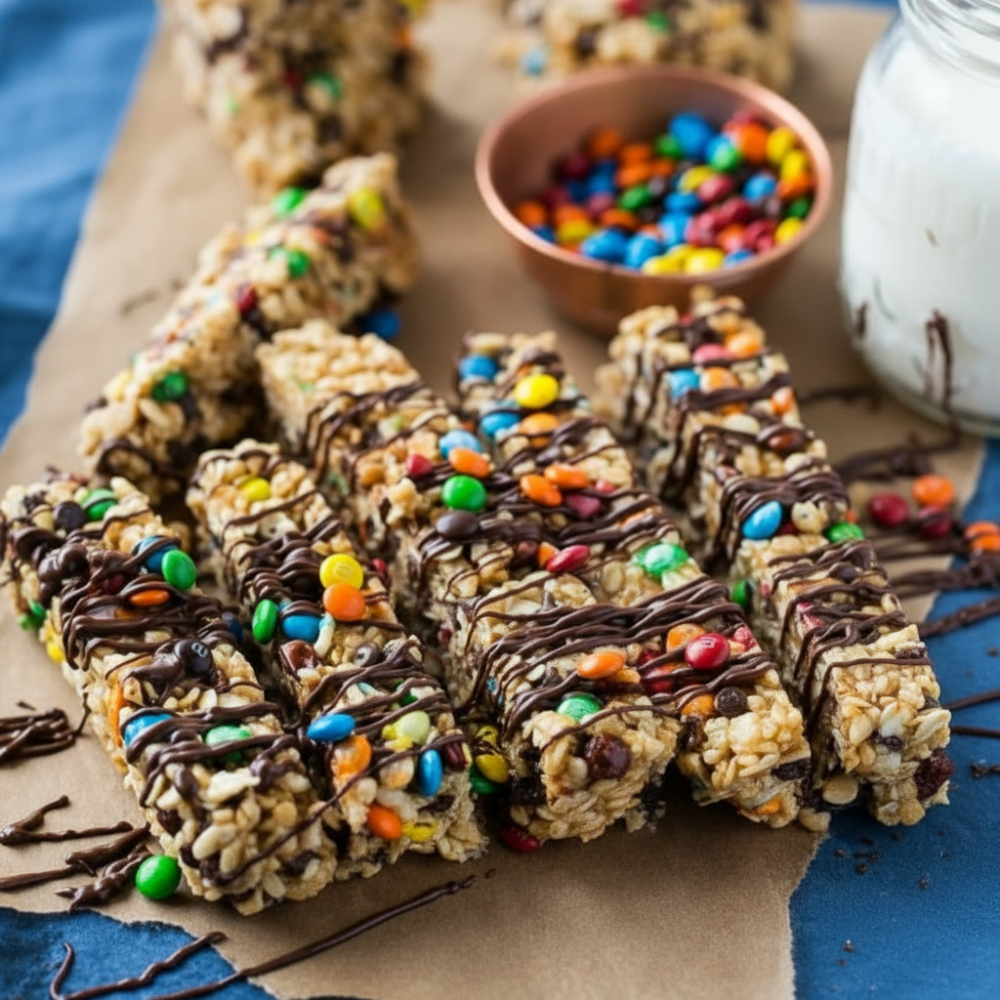
Crafting delicious treats at home offers unparalleled satisfaction and often saves considerable time. In today’s fast-paced world, finding moments for baking can be a challenge. This is where the magic of no-bake recipes truly shines. We are exploring the creation of wholesome, delightful No Bake Granola Bars, a perfect example of a treat that delivers on flavor without demanding oven time. These bars provide a convenient option for anyone seeking quick, satisfying bites. They are particularly ideal for busy schedules, offering a straightforward approach to homemade goodness. Imagine a simple recipe that requires minimal effort yet yields maximum enjoyment. These easy chewy oat squares are an answer to those cravings for something sweet and substantial without the fuss. They transform everyday ingredients into a convenient, grab-and-go snack. This approach redefines quick no-oven desserts, making them accessible to even the most novice home cooks.
Why Make Homemade Snack Bars
Opting for homemade snack bars offers significant advantages over their store-bought counterparts. Firstly, there is a clear cost benefit. Purchasing individual snack bars can quickly add up, whereas preparing a batch at home proves far more economical. Beyond the savings, crafting your own bars provides complete control over the ingredients. This means you can actively manage the sugar content, reducing it to suit your preferences or dietary needs. Store-bought bars often contain excessive sugars and artificial additives. By making your own, you eliminate these concerns. You gain the power to select high-quality, natural components. This control extends to customization, allowing for healthier school lunch treats tailored to specific nutritional goals. For instance, you can choose organic oats or natural sweeteners. This hands-on approach ensures transparency in what you consume. It also provides an opportunity to involve children in the food preparation process, fostering an understanding of healthy eating habits. The satisfaction of knowing exactly what goes into each bite adds an extra layer of enjoyment to these homemade candy cereal bars.
Key Ingredients Breakdown
The success of these No Bake Granola Bars relies on a few fundamental ingredients, each playing a crucial role in texture and flavor.
- Rolled Oats: These form the structural base of our bars. Their hearty texture provides the satisfying chewiness characteristic of a good granola bar. Rolled oats hold their shape better and offer more substance than quick oats.
- Crispy Rice Cereal: Incorporated to introduce a delightful crunch. This cereal adds lightness and contrasts beautifully with the oats, preventing the bars from becoming overly dense.
- Creamy Peanut Butter: A primary binder, the peanut butter helps hold all the ingredients together. Its rich, nutty flavor is central to these peanut butter honey snack bars. Use a creamy variety for optimal mixing and a smooth consistency.
- Honey: Serving as both a natural sweetener and a powerful binder, honey is essential. It provides the necessary stickiness to keep the bars intact while imparting gentle sweetness that complements the peanut butter.
- Candy-Coated Chocolates: These colorful additions bring a burst of fun, sweetness, and varying textures. They make the bars especially appealing as kid-friendly snacks, adding a playful element. Think of classic M&M-style candies for this.
- Butter: A small amount of butter, when melted with the honey and peanut butter, adds richness and creates a smoother, more pliable mixture, ensuring better binding and a more luxurious mouthfeel.
- Melted Chocolate Drizzle: This final touch elevates visual appeal and adds an extra layer of chocolatey indulgence. It hardens upon chilling, providing a pleasant textural contrast.
Step-by-Step Instructions
Creating these easy chewy oat squares is a straightforward process. Follow these steps for perfect No Bake Granola Bars every time.
- Begin by preparing an 8×8-inch baking pan. Line it completely with parchment paper, ensuring some overhang on the sides. This overhang serves as handles for easy removal. This preparation is crucial for a clean lift.
- In a large mixing bowl, combine 3 cups of rolled oats and 1 cup of crispy rice cereal. Stir these dry ingredients thoroughly for even distribution.
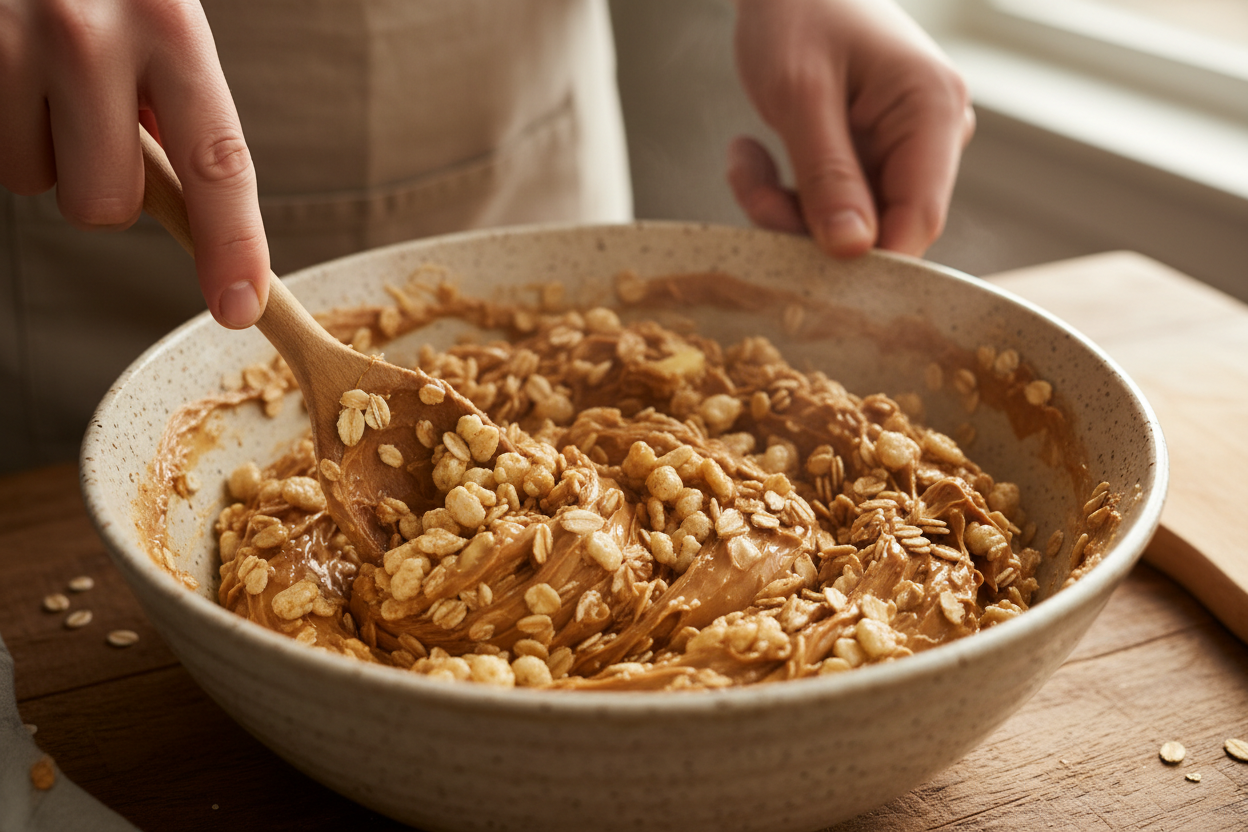
- In a medium, microwave-safe bowl or a small saucepan over low heat, gently melt together 1/2 cup of honey, 1/2 cup of creamy peanut butter, and 1/4 cup of butter. Heat until smooth and fully combined, stirring frequently. Do not boil.
- Pour the warm wet mixture over the dry oats and cereal. Mix everything together very thoroughly with a sturdy spoon or spatula. Ensure all oats and cereal are evenly coated. This step is critical for proper binding.
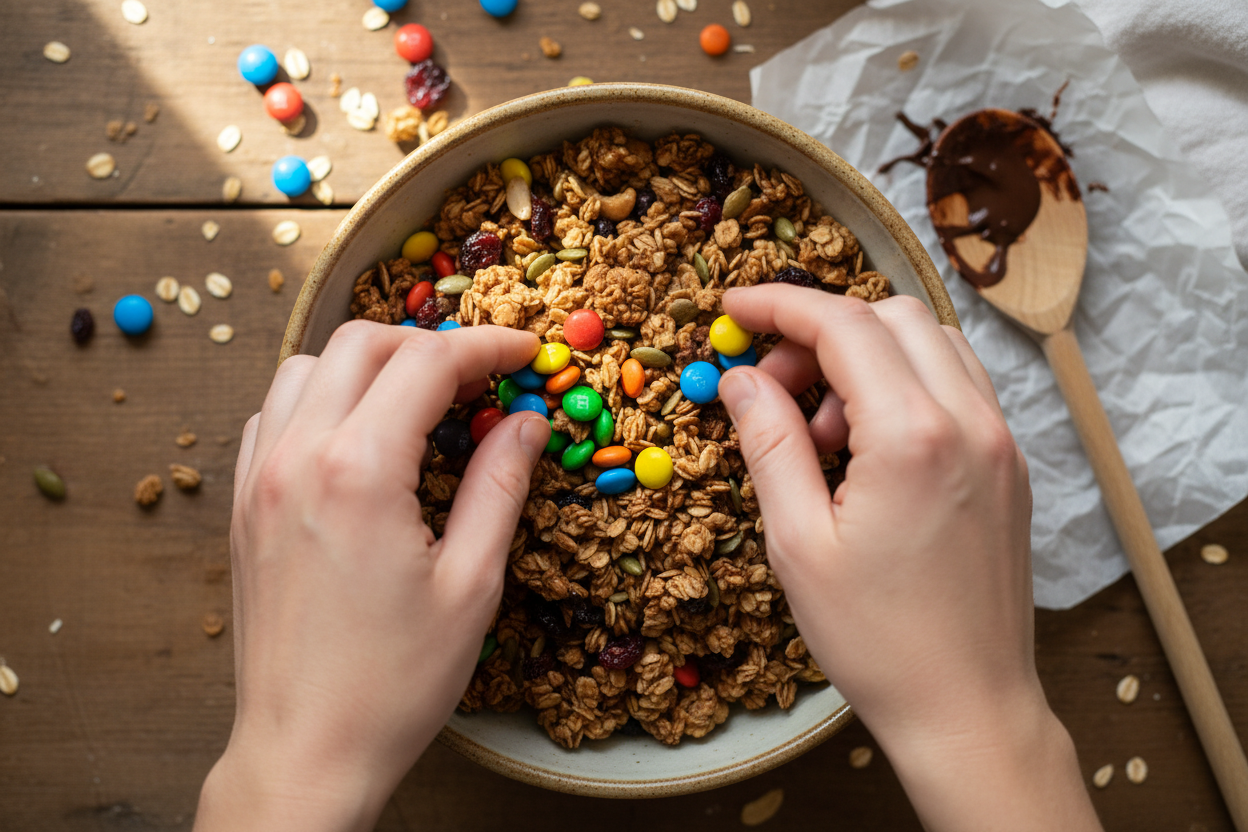
- Allow the mixture to cool slightly for about 5-10 minutes. Once warm, fold in 1/2 cup of candy-coated chocolate pieces. Waiting prevents candies from melting and running colors.
- Transfer the mixture into the prepared 8×8-inch pan. Using another piece of parchment paper or a spoon, press the mixture down very firmly and evenly. Compacting the mixture is vital for bars that hold together well.
- In a separate small bowl, melt 1/4 cup of chocolate for drizzling. Drizzle the melted chocolate evenly over the pressed granola bar mixture.
- Place the pan in the refrigerator to chill for at least 2 hours. This chilling allows the bars to set completely, ensuring they are firm and easy to cut. Once firm, use the parchment paper overhang to lift the slab. Cut into desired bar sizes with a sharp knife.
Customization and Healthier Swaps
One of the significant benefits of making these No Bake Granola Bars at home is the endless potential for customization. You can easily adapt the recipe to suit different tastes, dietary needs, or ingredient availability.
- Nut Allergy-Friendly: For those with nut allergies, creamy sunflower seed butter can be an excellent substitute for peanut butter. Ensure it is a smooth, drippy variety for the best binding results. This makes the bars safe for more individuals.
- Add Dried Fruit: Incorporate 1/2 cup of your favorite dried fruits for extra chewiness and natural sweetness. Think chopped apricots, raisins, dried cranberries, or diced dates. Fold them in at the same stage as the candy-coated chocolates.
- Different Chocolates: Instead of candy-coated chocolates, consider using mini chocolate chips, white chocolate chunks, or dark chocolate chips for a more sophisticated flavor. Dark chocolate offers a richer taste.
- Seeds and Nuts: For added texture and nutritional boost, a handful of chia seeds, flax seeds, chopped almonds, or pumpkin seeds can be mixed in with the dry ingredients. These additions contribute fiber and healthy fats.
These adaptations allow you to create healthy school lunch treats that cater precisely to your family’s preferences while maintaining the core appeal of easy chewy oat squares.
Storage Tips
Proper storage is key to maintaining the freshness and perfect texture of your No Bake Granola Bars. Once cut, place the bars in an airtight container.
- Refrigerator Storage: Store the bars in the refrigerator for up to one week. The cool temperature helps them retain their firm, chewy consistency. This is especially important for bars with chocolate drizzle.
- Freezer Storage: For longer preservation, wrap individual bars tightly in plastic wrap, then place them in a freezer-safe bag or container. They can be stored in the freezer for up to three months. Thaw them at room temperature for a few minutes before enjoying, or eat them directly from the freezer for a firmer bite.
Frequently Asked Questions
Even with a simple recipe, some common questions arise when making No Bake Granola Bars. Here are answers to help ensure your success.
Q: Why are my bars not binding together and falling apart?
A: The most common reason for crumbling bars is insufficient binding agents or not pressing the mixture firmly enough into the pan. Ensure you use the full amounts of 1/2 cup honey, 1/2 cup peanut butter, and 1/4 cup butter. Also, press the mixture very firmly into the pan with significant pressure. This compacts the ingredients, allowing them to stick together properly as they chill. Cooling time is also critical; ensure a full 2 hours of chilling.
Q: How can I achieve the perfect chewy texture?
A: The ratio of rolled oats to liquid binders is important for chewiness. Using rolled oats (3 cups) rather than quick oats provides more texture. The combination of 1/2 cup honey and 1/2 cup peanut butter, along with 1/4 cup butter, provides the ideal sticky base. Overheating the wet mixture can sometimes make it less sticky once cooled, so melt it gently. Chilling for the full 2 hours also contributes significantly to the desired firm, chewy consistency. Avoid adding too many dry additions without adjusting wet ingredients, as this can upset the balance.
These No Bake Granola Bars offer a versatile and satisfying solution for easy snacking. They prove that wholesome, delicious treats do not require extensive preparation or baking. Whether you are packing healthy school lunch treats, looking for a quick pick-me-up, or simply want a delightful homemade candy cereal bar, this recipe is a reliable choice. Enjoy the simplicity and the customizable nature of these quick no-oven desserts. For more practical recipes, kitchen tips, and delicious inspiration, be sure to follow our community. Join us on Facebook for daily updates and behind-the-scenes glimpses into our culinary adventures. Follow our Facebook page today and become part of our growing family of home cooks.
Colorful Candy Chewy Oat Bars
Ingredients
- 3 cup Rolled oats Use certified gluten-free if needed
- 1 cup Crispy rice cereal Adds a great crunch
- 1/2 cup Peanut butter Creamy style works best for binding
- 1/2 cup Honey Can substitute with maple syrup
- 1/4 cup Unsalted butter Melted
- 1 tsp Vanilla extract
- 1/2 cup Candy-coated chocolate pieces Mini size preferred so they distribute evenly
- 1/4 cup Semi-sweet chocolate chips Melted for drizzle
Instructions
- Line an 8x8 inch square baking dish with parchment paper.
- Combine the rolled oats and crispy rice cereal in a large mixing bowl.
- Melt the peanut butter, honey, and unsalted butter in a small saucepan over medium-low heat until completely smooth, then stir in the vanilla extract.
- Pour the melted wet mixture over the dry cereal mixture and stir until everything is evenly coated.
- Allow the mixture to cool for 5 minutes, then gently fold in the candy-coated chocolate pieces so they do not melt.
- Transfer the mixture to the prepared baking dish and press down very firmly into an even layer.
- Drizzle the melted semi-sweet chocolate chips over the top of the bars.
- Chill in the refrigerator for at least 2 hours before slicing into individual servings.
For more daily recipes and tips, follow us on Facebook!
Click here to join our community!