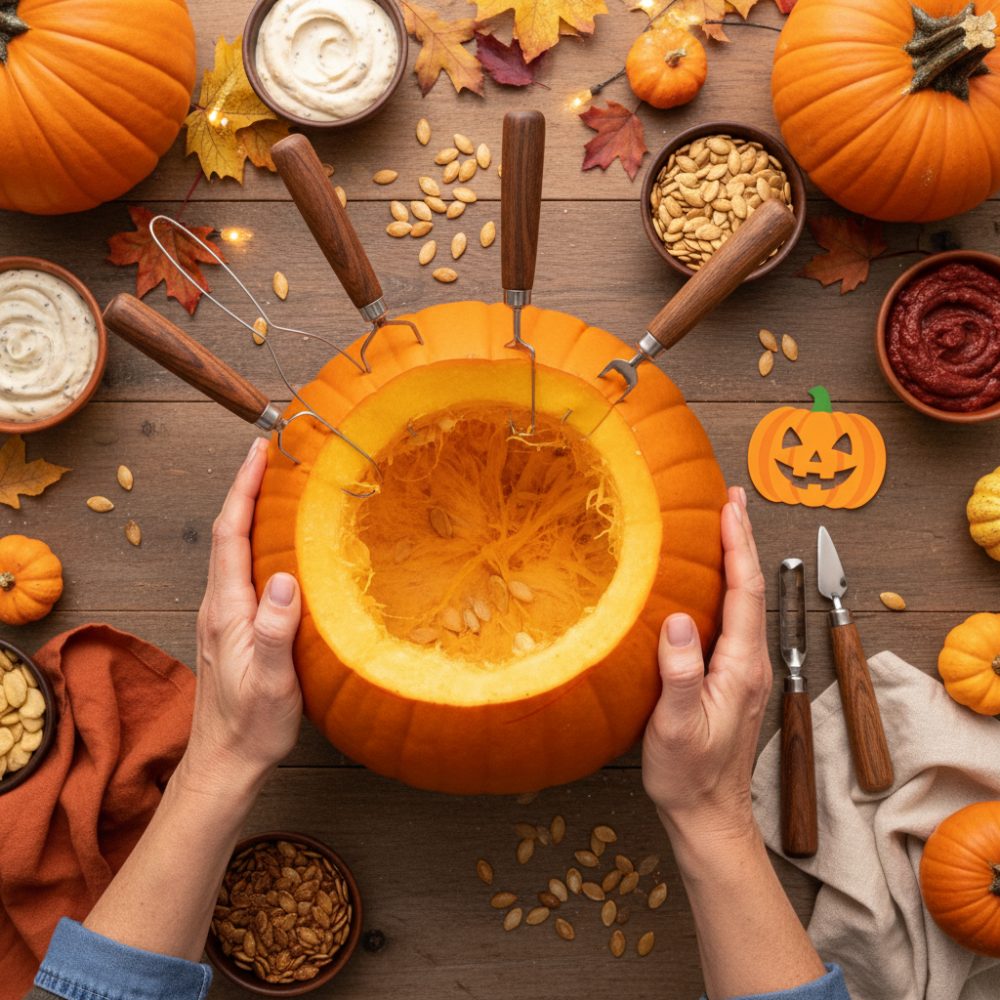
Preparing a jack-o-lantern is a cherished autumn tradition, signaling the arrival of Halloween. Beyond the simple act of carving, there is an art to creating a truly memorable pumpkin display. This guide will walk you through selecting the ideal Halloween squash, equipping yourself with the right gutting tools, and executing a clean, impressive design. We will also explore culinary uses for your pumpkin, ensuring no part goes to waste.
The Ultimate Guide to Jack-O-Lantern Preparation
Selecting the Perfect Halloween Squash
The foundation of a great jack-o-lantern begins with choosing the right pumpkin. Do not rush this step. A good Halloween squash will provide a stable canvas for your creative efforts.
Size, Shape, and Stem
Consider the size based on your intended display location. Larger pumpkins offer more surface area for intricate designs, while smaller ones are easier to handle. Look for a pumpkin with a relatively flat base to prevent it from rolling. The shape should be symmetrical if you plan a balanced design, or uniquely irregular for a more characterful look. Inspect the skin for soft spots, bruises, or deep cuts, as these areas will rot quickly. A firm, blemish-free surface is crucial. Finally, check the stem. A sturdy, intact stem indicates a healthy pumpkin that will last longer. Avoid pumpkins with broken or moldy stems.
Essential Tools for the Job
Having the correct gutting tools makes the carving process smoother and safer. While specialized pumpkin carving kits are available, many household items can suffice.
- Large, Serrated Knife: For cutting the lid. A small saw from a carving kit also works well.
- Scoop or Large Spoon: Essential for removing seeds and pulp. A sturdy ice cream scoop or a dedicated pumpkin scoop is ideal.
- Bowl: To hold the pumpkin guts and seeds.
- Small, Sharp Knife or Carving Tools: For detail work and cutting out facial features. Craft knives or linoleum cutters can also be effective for intricate designs.
- Marker: For drawing your design onto the pumpkin.
- Push Pins or Taper: For transferring stencil templates.
- Paper Towels or Rags: For cleanup.
- Gloves: Optional, to keep hands clean from pumpkin pulp.
Step-by-Step: How to Carve a Pumpkin
Follow these steps to transform your Halloween squash into a striking jack-o-lantern.
Prepping Your Workspace
Choose a clean, flat surface that is easy to wipe down, such as a kitchen counter or an outdoor picnic table. Lay down old newspapers, cardboard, or a plastic tablecloth to catch debris and make cleanup simple. Good lighting is also important to ensure precision and safety. Keep your tools organized and within reach.
Creating the Lid and Scooping
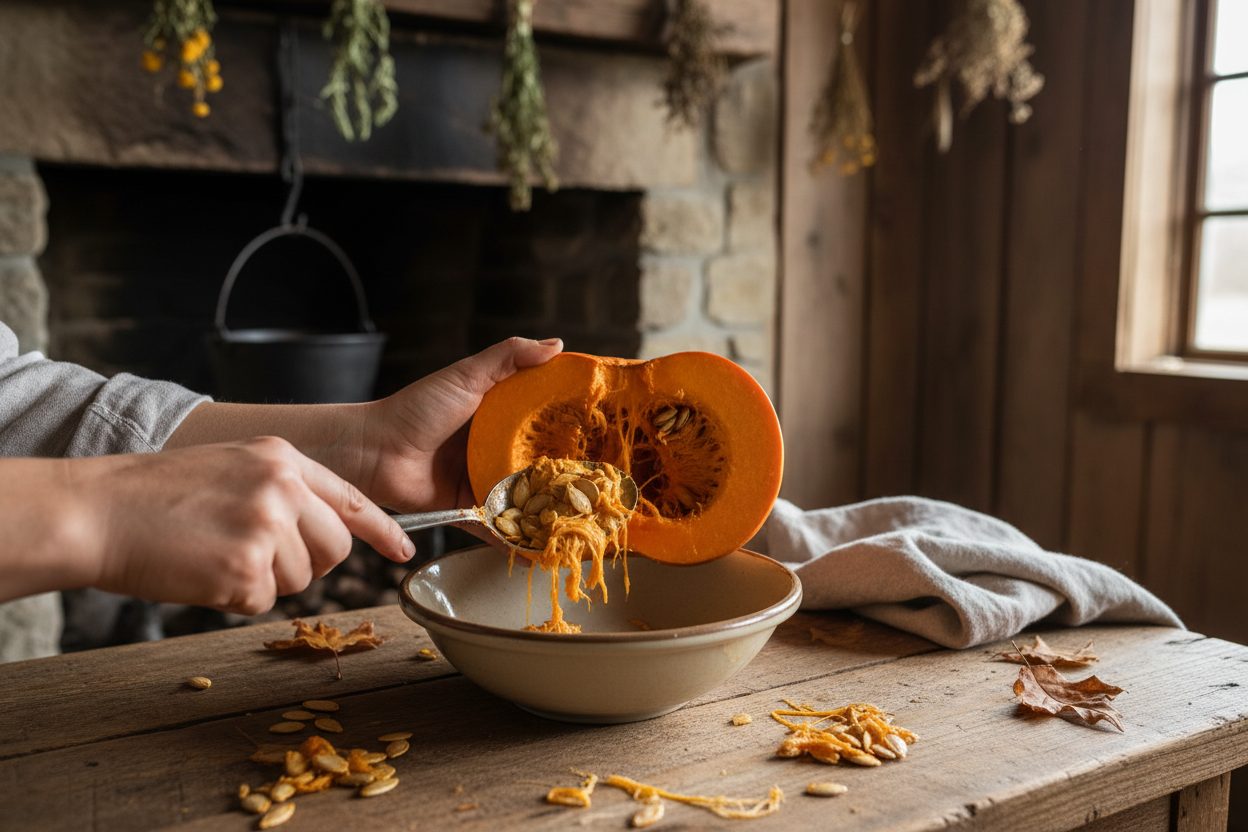
Carefully cut a circular or hexagonal opening around the pumpkin stem. Angle your knife inwards as you cut, creating a V-shape. This angle will prevent the lid from falling into the pumpkin once removed. Once the lid is cut, gently pull it off. Using your scoop or a large, sturdy spoon, begin to scoop out pulp and all the loose stringy bits from the inside walls of the pumpkin. Be thorough in removing all the pulp to prevent premature spoilage and to provide a clean interior for your light source. Separate the seeds from the stringy pulp into a bowl if you plan on roasting seeds later.
Transferring Your Design
Once the pumpkin is clean inside, it is time for your design. You can freehand draw directly onto the pumpkin with a marker, or use a stencil template. If using a template, tape it securely to the pumpkin surface. Use a push pin or a small poker tool to prick along the lines of your design, creating a series of dots that outline your pattern. Once the dots are complete, remove the stencil. Connect the dots with your marker, creating a clear guide for cutting. When you are ready to cut, use small, controlled saw-like motions with your carving tool. Start with the smallest, most intricate parts first. Push the cut-out pieces inwards into the pumpkin cavity.
What to Do with the Scraps
Carving a pumpkin generates usable byproducts. Do not discard everything.
Sorting Seeds and Pulp
The stringy pulp can be composted. The pumpkin seeds, however, are a valuable treat. Separate them from the pulp by rinsing them under cold water in a colander. Pat them dry thoroughly before seasoning and roasting. Roasted pumpkin seeds make a delicious, crunchy snack.
A Culinary Twist: Beef and Wild Rice Stuffed Squash
While your carved pumpkin serves as a festive decoration, another sugar pumpkin can become a delicious meal. This recipe offers a savory use for a medium sugar pumpkin.
Why Cook Your Centerpiece?
Using a sugar pumpkin as the vessel for a hearty meal transforms it into an edible centerpiece. It offers a unique presentation and allows the pumpkin’s subtle sweetness to complement savory fillings. This dish is perfect for a cool autumn evening.
Ingredients List:
- 1 medium sugar pumpkin
- 1 lb ground beef
- 1 cup wild rice
- 1 cup diced yellow onion
- 2 cloves minced garlic
- 2 cups beef broth
- 1 tsp dried thyme
Step-by-Step Cooking Instructions:
- Preheat oven to 375 degrees Fahrenheit. Cut the top off the squash and scoop out the seeds and stringy pulp. Set the lid aside.
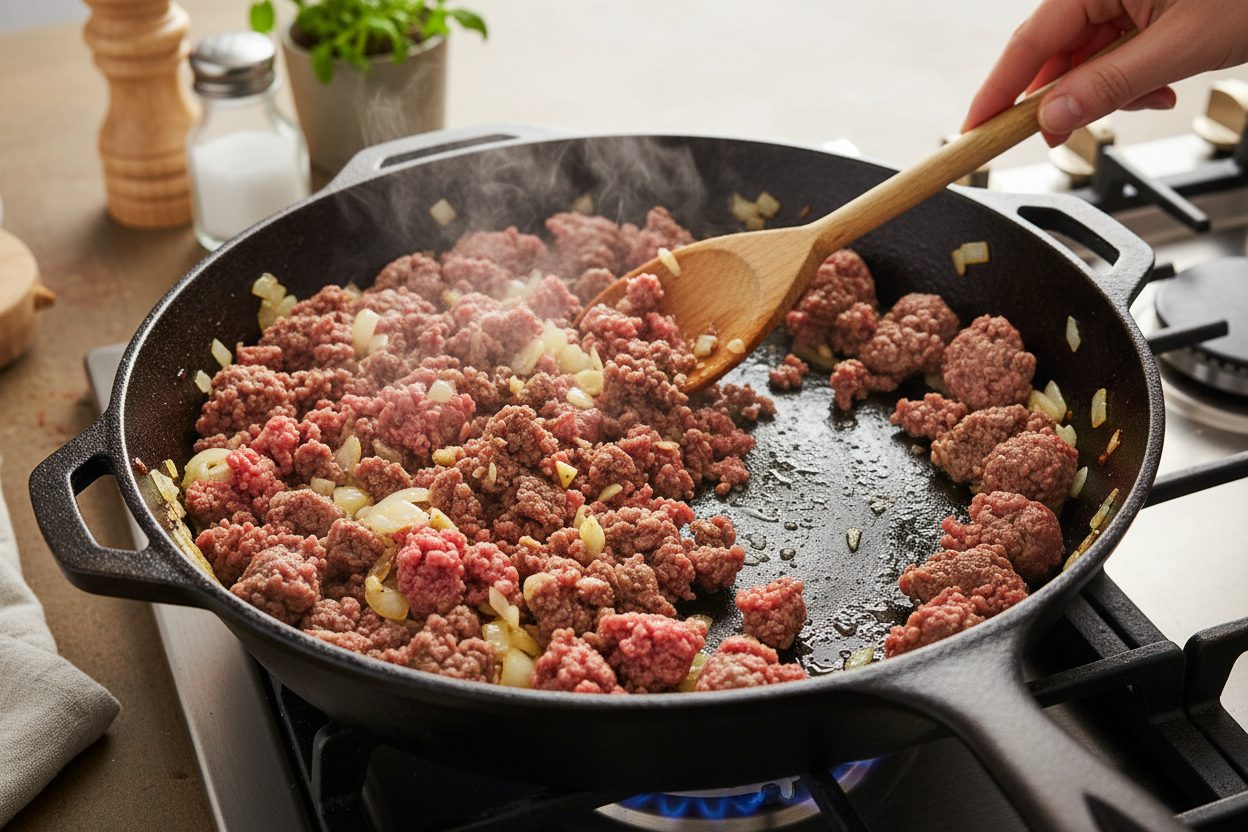
- In a large skillet over medium-high heat, brown the 1 lb ground beef with the 1 cup diced yellow onion and 2 cloves minced garlic until the beef is fully cooked and the onion is softened. Drain any excess fat from the skillet.
- Stir the 1 cup wild rice, 2 cups beef broth, and 1 tsp dried thyme into the skillet with the beef mixture. Bring the mixture to a simmer, then remove the skillet from the heat.
- Spoon the beef and rice mixture into the hollowed-out sugar pumpkin, filling it evenly.
- Place the stuffed squash on a baking sheet. Cover the pumpkin with its reserved lid. Bake for 60 minutes, or until the pumpkin flesh is tender when pierced with a fork.
Storing and Preserving Your Creation
After the effort of carving, you want your jack-o-lantern to last as long as possible as an autumn decoration. A carved pumpkin typically lasts 3-7 days, depending on climate. To extend its life, you can spray the interior and cut edges with a solution of bleach and water (one teaspoon of bleach per quart of water) to inhibit mold growth. Keeping the pumpkin in a cool, dry place and bringing it indoors overnight can also help preserve it. If the pumpkin starts to shrivel, a brief soak in a tub of cold water can rehydrate it.
Creating a jack-o-lantern is a rewarding activity that brings a touch of festive spirit to your home. By following these steps, you can craft a durable and impressive Halloween squash. The culinary adventure with a stuffed sugar pumpkin further enhances the season’s bounty.
For more seasonal recipes and carving tips, follow our Facebook page: Seasonal Feasts & Festive Crafts.
Beef and Wild Rice Stuffed Squash
Ingredients
- 1 medium Sugar pumpkin approx 3 lbs
- 1 lb Ground beef 80/20 blend
- 1 cup Wild rice rinsed
- 1 cup Yellow onion diced
- 2 cloves Garlic minced
- 2 cups Beef broth low sodium
- 1 tsp Dried thyme
Instructions
- Preheat oven to 375 degrees Fahrenheit. Cut the top off the squash and scoop out the seeds.
- In a large skillet over medium-high heat, brown the ground beef with the diced yellow onion and minced garlic until fully cooked. Drain excess fat.
- Stir the wild rice, beef broth, and dried thyme into the skillet. Bring to a simmer, then remove from heat.
- Spoon the beef and rice mixture into the hollowed-out squash.
- Place the squash on a baking sheet, cover with the lid, and bake for 60 minutes until the flesh is tender.
For more daily recipes and tips, follow us on Facebook!
Click here to join our community!