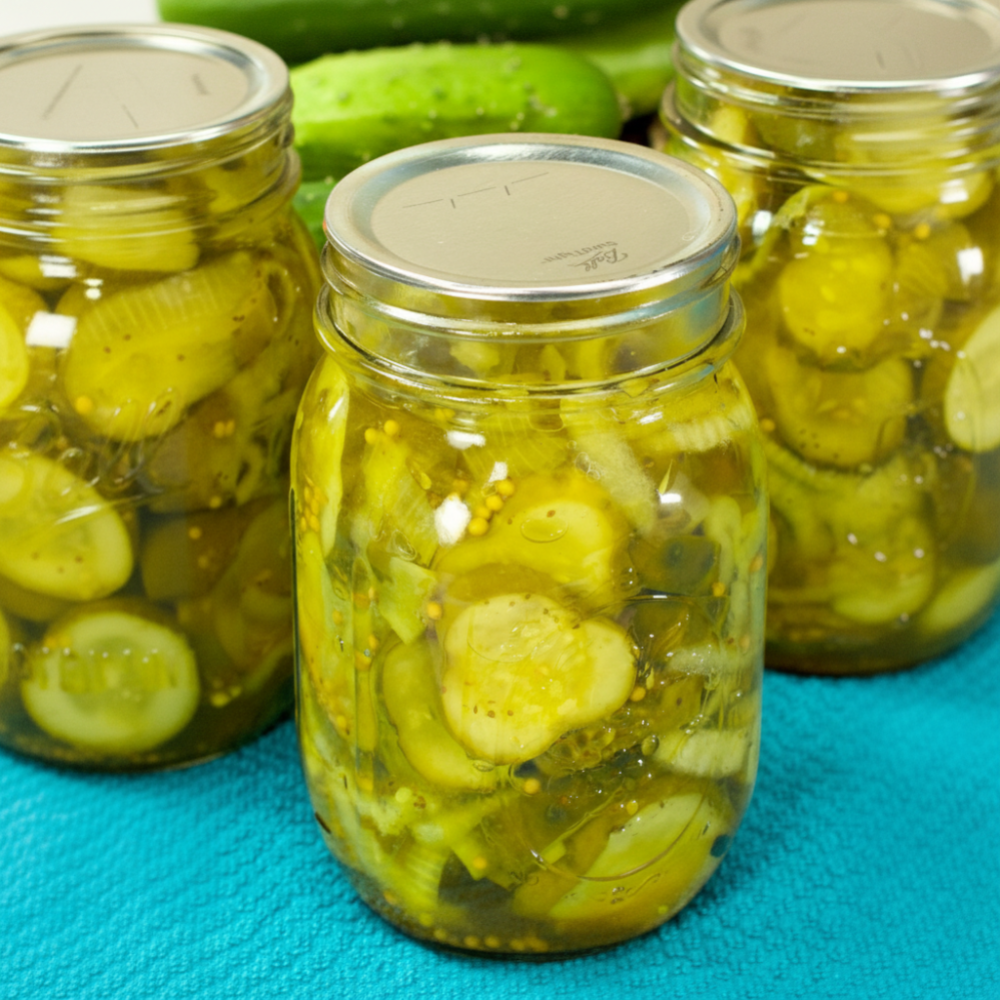
The art of creating exceptional pickles lies in balance. These homemade Bread and Butter Pickles offer that perfect equilibrium: a delightful interplay of sweet and sour cucumbers that brightens any meal. They are an ideal way to tackle the abundance of fresh produce, offering a rewarding method for preserving the cucumber harvest. Whether nestled alongside a juicy burger, layered into a sandwich, or simply enjoyed straight from the jar, these crisp, tangy slices are a testament to simple, flavorful preparation. Learning to make your own means unlocking a fresh, vibrant taste far superior to anything store-bought. This process, often involving canning cucumbers, secures that summer freshness for months to come.
Essential Ingredients
Crafting these pickles begins with a selection of fresh, high-quality ingredients. Precision in measurement is key for the distinct flavor profile.
- Cucumbers & Onions: You will need 2 lbs of crisp pickling cucumbers. Look for small, firm varieties to ensure the best texture. Complementing the cucumbers are 1 lb of sweet onions, sliced thinly.
- Pickling Salt: For drawing out excess moisture and ensuring crispness, 1/4 cup of pickling salt is essential. This salt is specifically formulated without anti-caking agents that can cloud your brine.
- Pickling Liquid: The foundation of the flavor comes from a vibrant pickling liquid. This consists of 2 cups of quality apple cider vinegar, which provides the necessary tang, and 1.5 cups of white sugar to balance the acidity with sweetness.
- Spices: The signature warmth and aroma of these pickles are derived from a specific blend of spices: 2 tbsp of whole mustard seeds, 1 tsp of fragrant celery seed, and 1/2 tsp of turmeric for its earthy notes and characteristic golden hue.
These ingredients combine to create the distinctive taste that makes Bread and Butter Pickles a beloved condiment. Each component plays a vital role in achieving the desired flavor and texture.
Step-by-Step Canning Instructions
Follow these steps carefully to ensure your pickles are perfectly prepared and safely preserved. This detailed guide simplifies the process of canning cucumbers at home.
1. Salting the Veggies
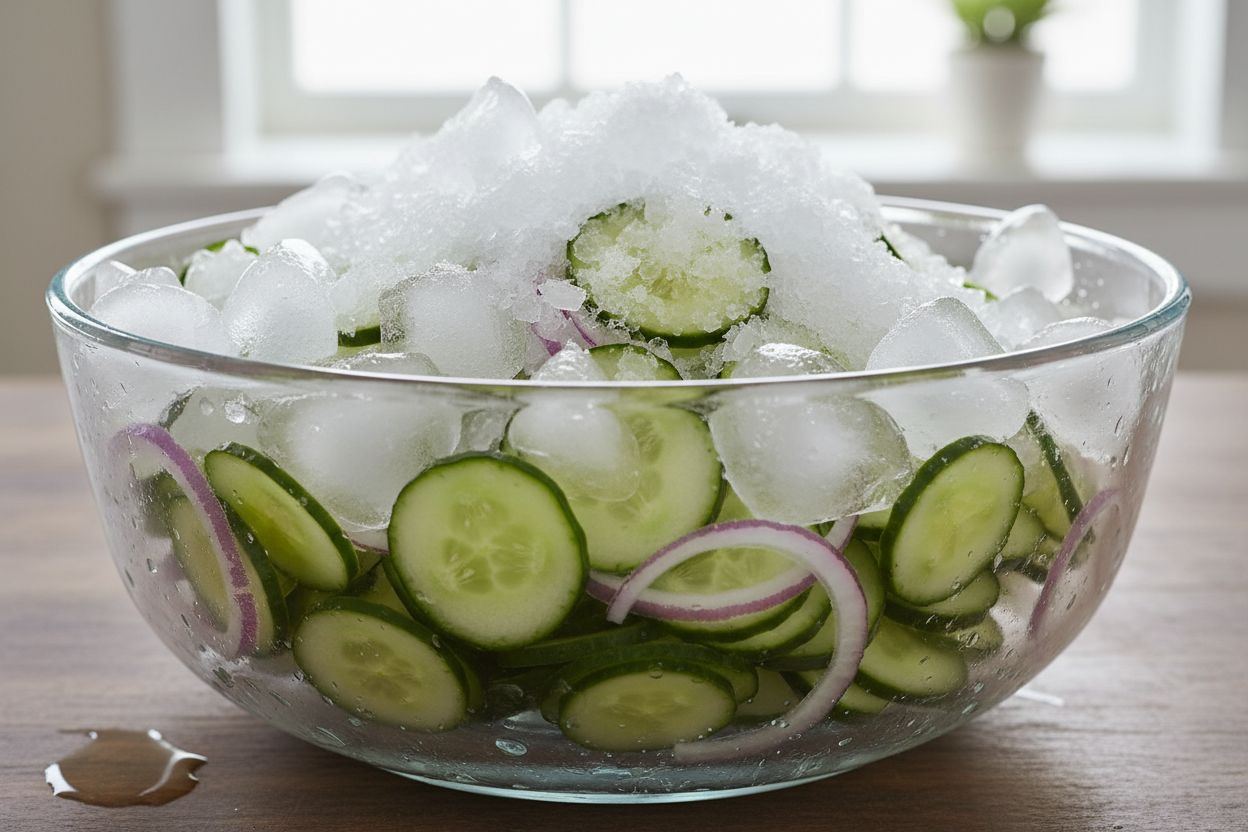
Begin by preparing your vegetables. Slice the 2 lbs of pickling cucumbers into uniform rounds, about 1/4-inch thick. Thinly slice the 1 lb of sweet onions. In a large, non-reactive bowl, combine the sliced cucumbers and onions with 1/4 cup of pickling salt. Ensure the salt is evenly distributed among the vegetables. Cover the mixture generously with ice. Allow this to sit for 2 hours. This crucial step draws out excess water from the vegetables, which helps maintain their crispness during the pickling process. After 2 hours, thoroughly drain the vegetables and rinse them well under cold running water to remove excess salt. Pat them dry with a clean towel or allow them to air dry briefly.
2. Preparing the Brine
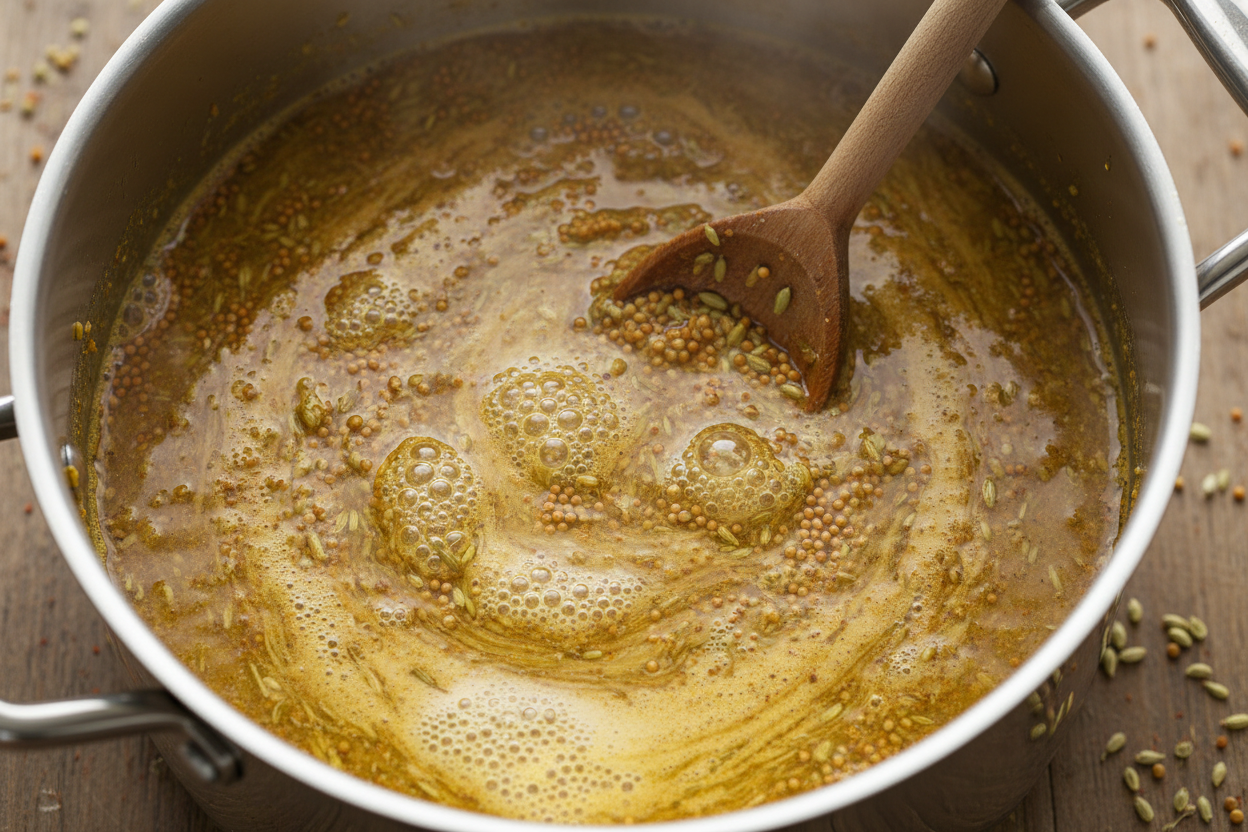
While the vegetables are salting, prepare your pickling liquid. In a large, non-reactive pot, combine the 2 cups of apple cider vinegar, 1.5 cups of white sugar, 2 tbsp of mustard seeds, 1 tsp of celery seed, and 1/2 tsp of turmeric. Bring this mixture to a full boil over medium-high heat, stirring occasionally to dissolve the sugar. Once boiling, reduce the heat slightly to maintain a steady simmer.
3. Simmering
Add the drained and rinsed cucumber and onion mixture to the boiling pickling liquid. Stir gently to ensure all vegetables are submerged in the brine. Return the mixture to a gentle simmer. This brief heating helps the vegetables absorb the brine’s flavors without cooking them too much, preserving their crisp texture. As soon as the mixture reaches a gentle simmer, immediately remove the pot from the heat. Overcooking at this stage will result in soft pickles.
4. Jarring
Prepare your canning jars. Sterilize pint or quart jars and their lids according to standard canning practices. Ladle the hot pickle mixture, including the vegetables and brine, into the sterilized jars. Leave 1/2-inch headspace from the rim of the jar. This space is vital for proper sealing during processing. Use a non-metallic utensil to remove any air bubbles trapped within the jars. Wipe the rims of the jars with a clean, damp cloth to ensure a clean sealing surface. Center the lids on the jars and apply the bands, tightening them to fingertip-tight.
5. Water Bath Processing
For proper preservation and shelf stability, process the filled jars using the water bath canning method. Carefully place the jars into a boiling water canner filled with hot water, ensuring they are covered by at least 1-2 inches of water. Bring the water to a rolling boil. Once boiling, process the jars for 10 minutes. Adjust processing time for altitude if necessary. After the processing time is complete, turn off the heat and carefully remove the jars from the canner. Place them on a wire rack or a clean towel, ensuring they are not touching each other. Allow the jars to cool undisturbed for 24 hours. You should hear the lids “pop” as they seal. Check for seals after cooling by pressing on the center of each lid; it should not flex. Any unsealed jars should be refrigerated and consumed within a few weeks.
Pro Tips for Crispness
Achieving that satisfying crunch in your pickles is a hallmark of a well-made batch of Bread and Butter Pickles. Several factors contribute significantly to their texture.
“The secret to truly crisp pickles often lies not just in the cucumber variety, but in how you prepare them before they ever meet the brine. Drawing out excess water is paramount.”
One of the most critical steps for crispness is the initial salting phase.
- Why ice is crucial during the salting phase: Covering the cucumbers and onions with ice during the 2-hour salting process does more than just keep them cool. The melting ice creates a cold, hypertonic solution with the pickling salt, which efficiently draws out water from the vegetable cells. This process prevents the pickles from becoming flabby when processed in the hot brine and ensures they retain their snap. Skipping this step often results in soft, unappealing pickles.
- Choosing the right pickling cucumbers: Not all cucumbers are created equal for pickling. Opt for varieties specifically labeled as “pickling cucumbers” or “kirby cucumbers.” These tend to be smaller, firmer, and have thinner skins, which stand up better to the canning process. Avoid large, common slicing cucumbers, as their higher water content and thicker skins can lead to a less desirable texture. Freshness is also key; pickle cucumbers as soon as possible after harvesting for optimal results.
By paying close attention to these details, you significantly increase your chances of producing perfectly crunchy sweet and sour cucumbers every time.
Storage and Shelf Life
Proper storage is essential for maintaining the quality and safety of your homemade Bread and Butter Pickles. Once sealed, they become a delicious addition to your pantry for an extended period.
- Best practices for storing sealed jars: After the 24-hour cooling period and confirming all jars are sealed, remove the bands (they can be reused). Wash the jars, label them with the date, and store them in a cool, dark, dry place. A pantry shelf or cellar is ideal. Direct sunlight or fluctuating temperatures can compromise the quality and safety of the pickles over time. Storing them without the bands prevents false seals from occurring and allows for easier monitoring of true seals.
- How long they last in the pantry vs. refrigerator: Properly processed and sealed jars of Bread and Butter Pickles, using the water bath canning method, will last for at least one year in a cool, dark pantry. While they may remain safe to eat beyond this period, their quality (crispness, flavor) will gradually diminish. Once a jar has been opened, the pickling liquid continues its work, but exposure to air means the pickles must be refrigerated. Opened jars of pickles will retain their quality in the refrigerator for several weeks to a month. Always use clean utensils when removing pickles from the jar to prevent contamination and extend their shelf life.
This careful approach to preserving summer harvest ensures you can enjoy the vibrant taste of homemade Bread and Butter Pickles long after the growing season has ended. The distinctive blend of apple cider vinegar, sugar, mustard seeds, and celery seed provides a robust flavor that holds up wonderfully in storage.
Making your own Bread and Butter Pickles is a rewarding endeavor. It provides a deeper connection to your food and ensures you have a supply of these crisp, flavorful sweet and sour cucumbers whenever you need them. The process of canning cucumbers, from salting to the final water bath canning, is straightforward and yields delicious results. Enjoy the vibrant taste of summer, preserved in every jar.
For more pickling adventures and seasonal recipes, be sure to follow our community page. We share tips, new ideas, and behind-the-scenes content that you will not want to miss. Find us and join the conversation on Facebook.
Sweet and Tangy Pickled Cucumbers
Ingredients
- 2 lbs Pickling cucumbers Sliced into 1/4-inch rounds
- 1 lb Sweet onions Thinly sliced
- 1/4 cup Pickling salt Do not use table salt
- 2 cups Apple cider vinegar 5% acidity
- 1.5 cups White sugar Granulated
- 2 tbsp Mustard seeds Yellow
- 1 tsp Celery seed Whole
- 0.5 tsp Turmeric Ground
Instructions
- Combine sliced cucumbers, onions, and pickling salt in a large bowl. Cover with ice and let sit for 2 hours. Drain and rinse thoroughly.
- In a large stainless steel pot, combine vinegar, sugar, mustard seed, celery seed, and turmeric. Bring to a boil over medium-high heat.
- Add the drained cucumber and onion mixture to the boiling liquid. Return to a gentle simmer, then immediately remove from heat.
- Ladle the hot mixture into sterilized canning jars, leaving 1/2-inch headspace. Remove air bubbles and wipe jar rims.
- Process in a boiling water bath for 10 minutes. Remove and let cool undisturbed for 24 hours before checking seals.
For more daily recipes and tips, follow us on Facebook!
Click here to join our community!