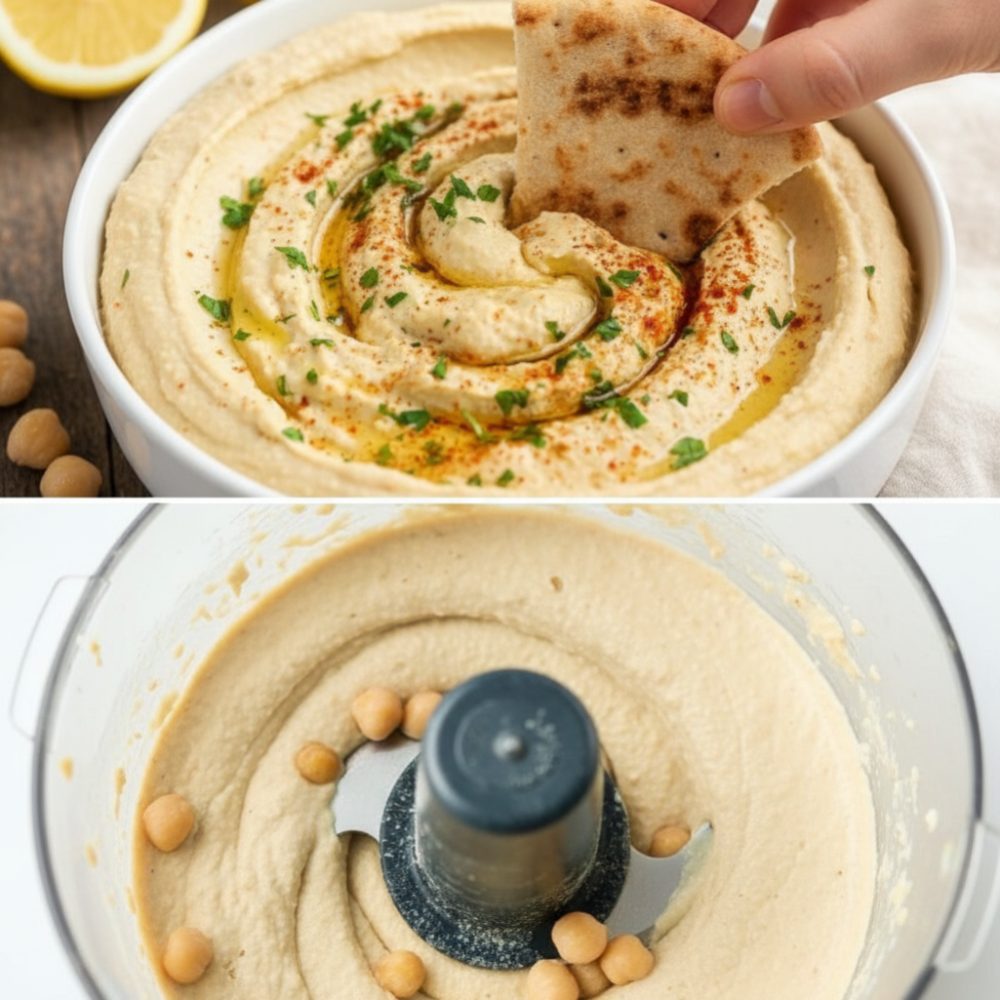
The pursuit of the perfect hummus often leads to specialized ingredients or lengthy preparation. Today, that changes. Welcome to the ultimate guide for creating a smooth and delicious homemade chickpea dip in just a few minutes. Forget store-bought versions that lack vibrant flavor and texture. This recipe delivers a luxurious, creamy hummus that is genuinely the Best and Easiest Hummus you will ever make at home. It is a fantastic quick vegan appetizer, perfect for any occasion or just a healthy snack.
Many recipes call for peeling chickpeas, a tedious task that deters countless home cooks. Others suggest boiling them for extended periods. This method skips those steps entirely, providing a truly no peel hummus experience without compromising on the silky-smooth consistency. The secret lies in a clever technique that ensures your dip is light, airy, and exceptionally creamy every time. You will be amazed at how quickly you can transform simple ingredients into a dip that rivals your favorite Mediterranean restaurant. This is your solution for a consistently delicious, incredibly simple hummus, ready in virtually no time.
Achieving Culinary Excellence: The Secret to Speed and Smoothness
The beauty of this recipe extends beyond its speed. It is about understanding the fundamental role each ingredient plays in creating that desirable texture and depth of flavor. We focus on achieving a rich, creamy garlic hummus that satisfies every palate. The primary goal is maximum flavor with minimal effort, and this recipe delivers precisely that. By streamlining the process, we eliminate unnecessary steps, allowing the natural goodness of the chickpeas and fresh aromatics to shine through. This method is designed for efficiency and exceptional results.
The foundation of any great hummus is its main ingredient: chickpeas. Using canned chickpeas simplifies the process dramatically, but selecting quality ones makes a difference. Rinse them thoroughly to remove excess sodium and preserve their natural taste. The addition of tahini, a sesame seed paste, is non-negotiable for authentic hummus. It provides a distinct nutty flavor and contributes significantly to the creamy texture. Fresh lemon juice brightens the dip, balancing the richness of the tahini and olive oil. Garlic, even a single clove, adds a pungent warmth that elevates the entire profile. Finally, the strategic use of ice water is the unsung hero, transforming the blend into an unbelievably smooth and fluffy consistency. Every element is carefully selected for its contribution to the overall experience, ensuring a balanced and delightful flavor.
7 Simple Ingredients Needed
Crafting this incredible homemade chickpea dip requires just a handful of staple ingredients, each playing a crucial role in developing its signature flavor and texture. High-quality ingredients are key to achieving the best results for your creamy garlic hummus.
- 15 oz Canned chickpeas: These form the creamy base of your hummus. Opt for a good quality brand, and remember to drain and rinse them well.
- 1/4 cup Tahini: A rich, earthy sesame paste essential for authentic flavor and a smooth consistency. Choose a tahini that is runny for the best results.
- 3 tbsp Extra virgin olive oil: Contributes to the luxurious mouthfeel and adds a fruity, peppery note. Use a good quality extra virgin olive oil for superior taste.
- 2 tbsp Fresh lemon juice: Brightens the flavor profile, balancing the richness and adding a tangy zest. Always use fresh-squeezed for the best flavor.
- 1 clove Garlic: Provides a foundational aromatic kick. Adjust to your preference, but one clove offers a balanced flavor without overpowering the dip.
- 1/2 tsp Kosher salt: Enhances all the other flavors. Season to taste, but this amount is a good starting point.
- 2 tbsp Ice water: The secret ingredient for achieving an incredibly light, airy, and smooth texture, ensuring truly no peel hummus.
These precise quantities are calibrated to create the ideal balance of flavor and texture, resulting in a dip that is both deeply satisfying and incredibly fresh. Each component is vital, contributing to the overall excellence of this speedy recipe.
Step-by-Step Instructions
Creating this 5 minute hummus is astonishingly simple. Follow these straightforward steps to achieve a perfectly smooth and flavorful dip that will impress everyone. Precision in each step ensures the best possible outcome.
- Begin by preparing your chickpeas. Take one 15 oz can of chickpeas, drain all the liquid, and then rinse them thoroughly under cold running water. This step helps remove any residual canning flavor and excess sodium. Once rinsed, place the clean chickpeas directly into the bowl of your food processor. There is no need for peeling or boiling; the unique technique of this recipe bypasses those time-consuming steps entirely.
- Next, add the remaining primary flavor components to the food processor. Measure out 1/4 cup of tahini and add it to the chickpeas. Follow this with 2 tablespoons of fresh lemon juice, which will brighten the entire dip. Introduce 1 clove of garlic; you may roughly chop it or add it whole, as the food processor will handle the mincing. Finally, add 1/2 teaspoon of kosher salt. Secure the lid of your food processor and blend these ingredients for approximately 1 minute. The goal is to create a thick, somewhat grainy paste. This initial blending helps to emulsify the tahini and lemon juice, laying the groundwork for a smooth finish.
- With the food processor still running, slowly and steadily drizzle in 3 tablespoons of extra virgin olive oil. This gradual addition allows the oil to emulsify properly with the chickpea mixture, contributing to the hummus’s creamy consistency. Immediately after the olive oil, slowly drizzle in 2 tablespoons of ice water. The ice water is critical for achieving that signature light and fluffy texture, transforming the thick paste into a remarkably smooth and airy dip. Continue blending for another 2 minutes, or until the hummus reaches your desired level of creaminess and is perfectly smooth to the touch. Scrape down the sides of the bowl as needed to ensure everything is incorporated evenly.
- Once your hummus has reached its ideal smooth texture, transfer it from the food processor to a serving bowl. To finish, drizzle a little extra extra virgin olive oil over the top. This adds both visual appeal and another layer of flavor. Garnish generously with freshly chopped parsley and a sprinkle of paprika for color and a subtle smoky note. Serve your freshly made creamy garlic hummus with fresh pita bread, offering a delightful combination of textures and flavors.
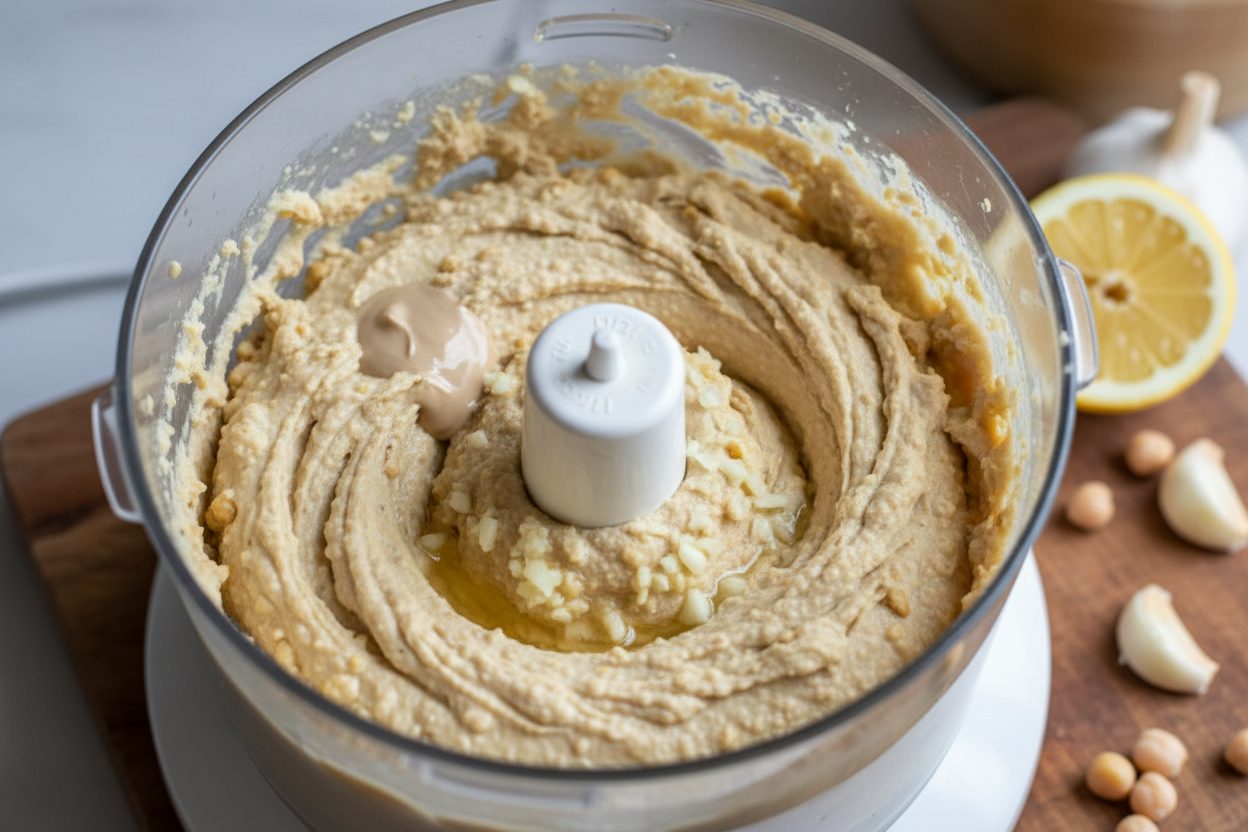
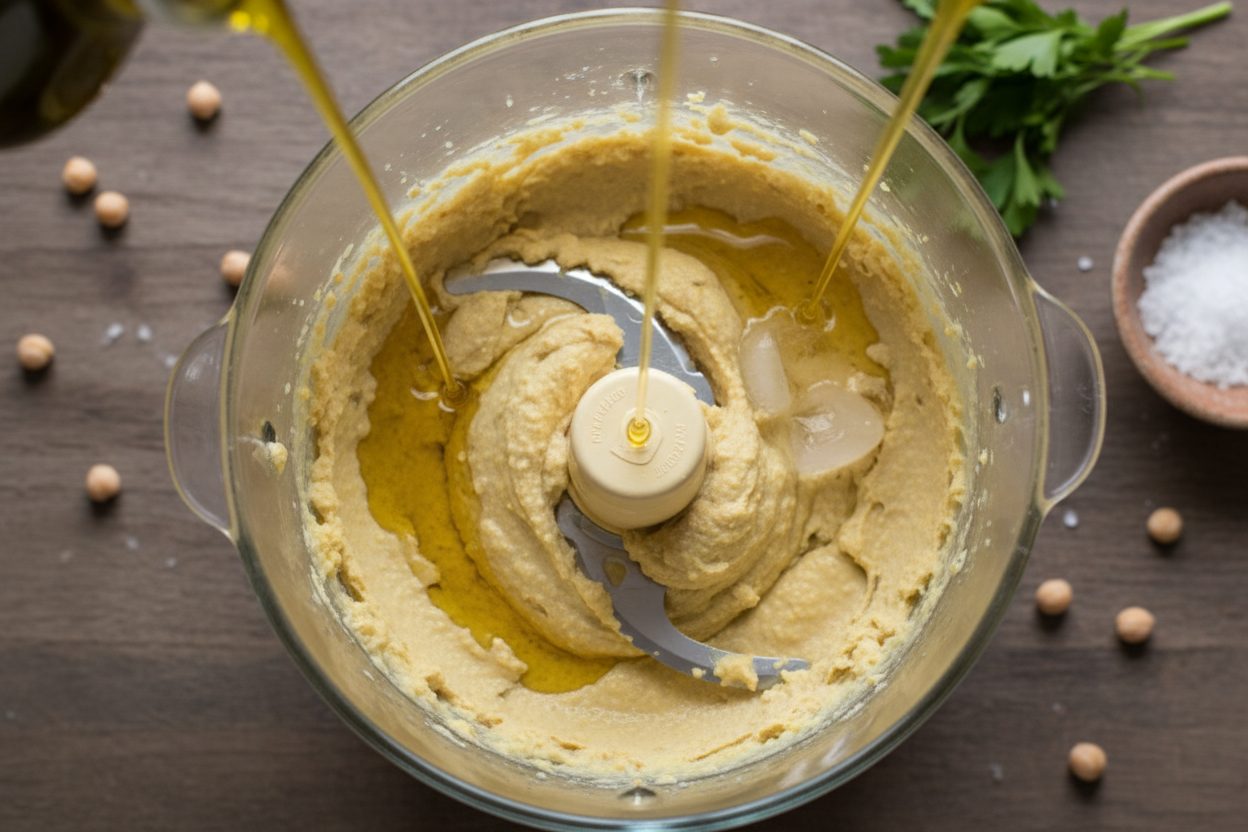
This methodical approach ensures that every ingredient contributes optimally, resulting in a perfectly balanced and incredibly smooth homemade chickpea dip.
Pro Tips for a Fluffy Texture
The secret to achieving an exceptionally smooth and fluffy hummus, truly a no peel hummus dream, lies in one key ingredient and technique: ice water. While many recipes recommend peeling chickpeas or extended boiling, our method bypasses these tedious steps entirely, thanks to this clever addition. When you add the 2 tablespoons of ice water during the final blending stage, it does more than just thin out the mixture. The cold temperature helps to emulsify the ingredients more effectively, breaking down the chickpea solids into a finer, lighter consistency. This process results in an incredibly airy and velvety texture that is often associated with restaurant-quality hummus.
The colder temperature also helps to prevent the tahini from seizing, ensuring a seamless blend. This simple trick negates the need for any complex preparations. You get all the benefits of a silky-smooth dip without the extra effort. For the best results, ensure your water is genuinely ice cold. A couple of ice cubes briefly swirled in the water before measuring can achieve this. This dedication to temperature control is a small step with a significant impact on the final product, solidifying this as the Best and Easiest Hummus.
Serving Suggestions
This versatile homemade chickpea dip is perfect for countless occasions. Its rich, creamy garlic hummus texture and vibrant flavor make it an excellent addition to almost any meal or snack spread. The classic pairing is with warm, fresh pita bread, which is ideal for scooping up generous portions. For those seeking lighter, healthier options, crunchy cucumber slices and sweet carrot sticks offer a refreshing contrast. Consider serving it alongside other raw vegetables like bell pepper strips or celery sticks for an expanded crudités platter.
Hummus also makes a fantastic spread for sandwiches or wraps, adding moisture and a burst of flavor. Use it as a base for a grain bowl, alongside grilled vegetables and a protein source. It can even be dolloped onto salads for an extra layer of creaminess. For a more substantial snack, pair it with crunchy crackers or toasted bread. Its adaptability ensures it will quickly become a staple in your kitchen, perfect for meal prep or impromptu gatherings.
Storage and Make-Ahead Advice
One of the many benefits of this quick vegan appetizer is its excellent keeping qualities. After preparing your Best and Easiest Hummus, transfer it to an airtight container. This helps maintain its freshness and prevents it from absorbing odors from other foods in your refrigerator. Properly stored, your homemade hummus will remain delicious and ready to enjoy for up to 5 days. This makes it an ideal candidate for meal prepping at the beginning of the week.
If you plan to make it ahead, consider holding off on the final garnish until just before serving. While the parsley and paprika are beautiful touches, they are best added fresh. Before serving, give the hummus a quick stir. If it has thickened slightly in the refrigerator, you can loosen it with a tiny splash of cold water or a drizzle of olive oil, stirring until it regains its desired creamy consistency. Allow it to sit at room temperature for about 15-20 minutes before serving to enhance its flavors and texture. This simple storage guidance ensures you always have a delightful, ready-to-eat dip on hand.
This method truly provides the Best and Easiest Hummus, making a rich, creamy, and flavorful dip achievable in just 5 minutes. Enjoy the satisfaction of a truly homemade product that outshines any store-bought alternative, proving that culinary excellence doesn’t always require extensive time or effort. Once you master this technique, you will find yourself making this no peel hummus again and again, becoming your go-to quick vegan appetizer.
For more incredibly simple and delicious recipes, be sure to follow our community on Facebook. We share daily tips, tricks, and new recipe ideas to inspire your cooking adventures. Join us and become part of our growing family of food enthusiasts.
Follow our Facebook page: https://www.facebook.com/profile.php?id=61568538666337
Quick and Creamy 5-Minute Hummus
Ingredients
- 15 oz Canned chickpeas Rinsed and drained
- 1/4 cup Tahini Well stirred
- 3 tbsp Extra virgin olive oil Plus extra for garnish
- 2 tbsp Fresh lemon juice Freshly squeezed
- 1 clove Garlic Peeled
- 1/2 tsp Kosher salt
- 2 tbsp Ice water
- 1 tbsp Fresh parsley Chopped, for garnish
- 1/4 tsp Paprika For garnish
- 2 whole Pita bread Warmed, for serving
Instructions
- Drain and rinse the chickpeas, then place them in a food processor.
- Add tahini, lemon juice, garlic, and salt to the processor and blend for 1 minute until a thick paste forms.
- With the processor running, slowly drizzle in the olive oil and ice water, blending for another 2 minutes until perfectly smooth.
- Transfer to a serving bowl, drizzle with a little extra olive oil, and garnish with chopped parsley and paprika. Serve with fresh pita bread.
For more daily recipes and tips, follow us on Facebook!
Click here to join our community!