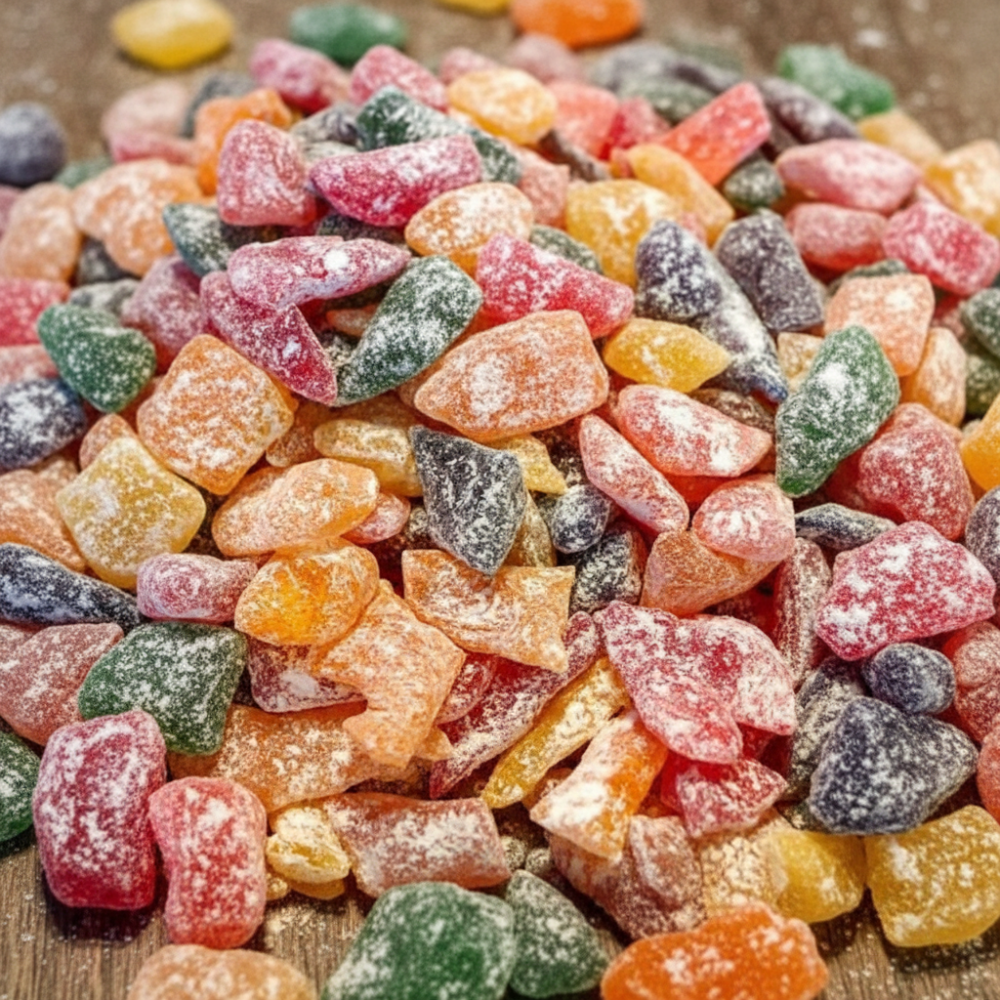
For many, the scent of fruit flavoring and melting sugar evokes cherished memories of holiday seasons past. This classic confection, often known as Stained Glass Rock Candy, is a delightful treat that brings a touch of old-fashioned charm to any gathering. It is a true homemade confection, simple in its ingredients but requiring precision in its execution. Grandmother’s traditional recipe for this vibrant hard tack candy stands as a testament to the enduring appeal of simple pleasures.
Creating Stained Glass Rock Candy is a rewarding process. The result is a collection of brilliantly colored, clear candies that resemble fractured jewels. Each piece offers a burst of flavor, a perfect bite-sized indulgence. This recipe guides you through making these beautiful holiday sweets, ensuring a successful batch of glistening, flavorful candy that will impress family and friends alike.
Essential Tools for Candy Making
Achieving perfect hard tack candy requires specific tools, particularly when working with high temperatures. Precision is key in candy making, and these items ensure accuracy and safety.
- Heavy Saucepan: A sturdy, heavy-bottomed saucepan distributes heat evenly and prevents scorching. Choose one with high sides to accommodate the boiling sugar mixture safely.
- Candy Thermometer: This is a non-negotiable tool. A reliable candy thermometer is essential for reaching the exact temperature required for the hard crack stage, which is crucial for the candy’s texture.
- Parchment Paper: For lining your baking sheet. This prevents sticking and makes removal much easier.
- Baking Sheet: A large, flat surface is needed for pouring and cooling the candy.
- Cooking Spray: A light application on the parchment paper adds an extra layer of non-stick protection.
- Spatula or Whisk: For initial stirring and ensuring the sugar dissolves properly.
Ingredient Breakdown
The beauty of Stained Glass Rock Candy lies in its minimal, yet perfectly balanced, ingredients. Each component plays a vital role in achieving the desired texture and flavor. Adhering to these precise measurements is paramount for success.
- Granulated Sugar (2 cups): The primary building block of our candy. It forms the structure and provides the sweetness.
- Light Corn Syrup (0.75 cup): This ingredient is critical for preventing crystallization, ensuring your candy remains smooth and clear, rather than grainy.
- Water (0.5 cup): Used to dissolve the sugar and corn syrup, allowing them to reach the high temperatures necessary for candy formation.
- Fruit Flavoring Oil (1 dram): Flavoring oils are highly concentrated and provide intense taste without adding excess water that could interfere with the candy’s setting. Choose your favorite fruit essence.
- Food Coloring (0.25 tsp): This gives the candy its signature “stained glass” appearance. A small amount goes a long way in creating vibrant hues.
- Powdered Sugar (0.5 cup): Used at the end to coat the finished candy pieces, preventing them from sticking together and adding a slight softness to the exterior.
Step-by-Step Instructions
Follow these steps carefully to create perfect Stained Glass Rock Candy. The process involves handling very hot sugar, so exercise caution.
- Prepare a baking sheet by lining it with parchment paper and spraying lightly with cooking spray. This step is crucial for easy removal of the hardened candy.
- In a heavy saucepan, combine 2 cups granulated sugar, 0.75 cup light corn syrup, and 0.5 cup water. Stir these ingredients over medium heat until all the sugar fully dissolves. Do not let the mixture boil before the sugar is completely dissolved, as this can lead to crystallization.
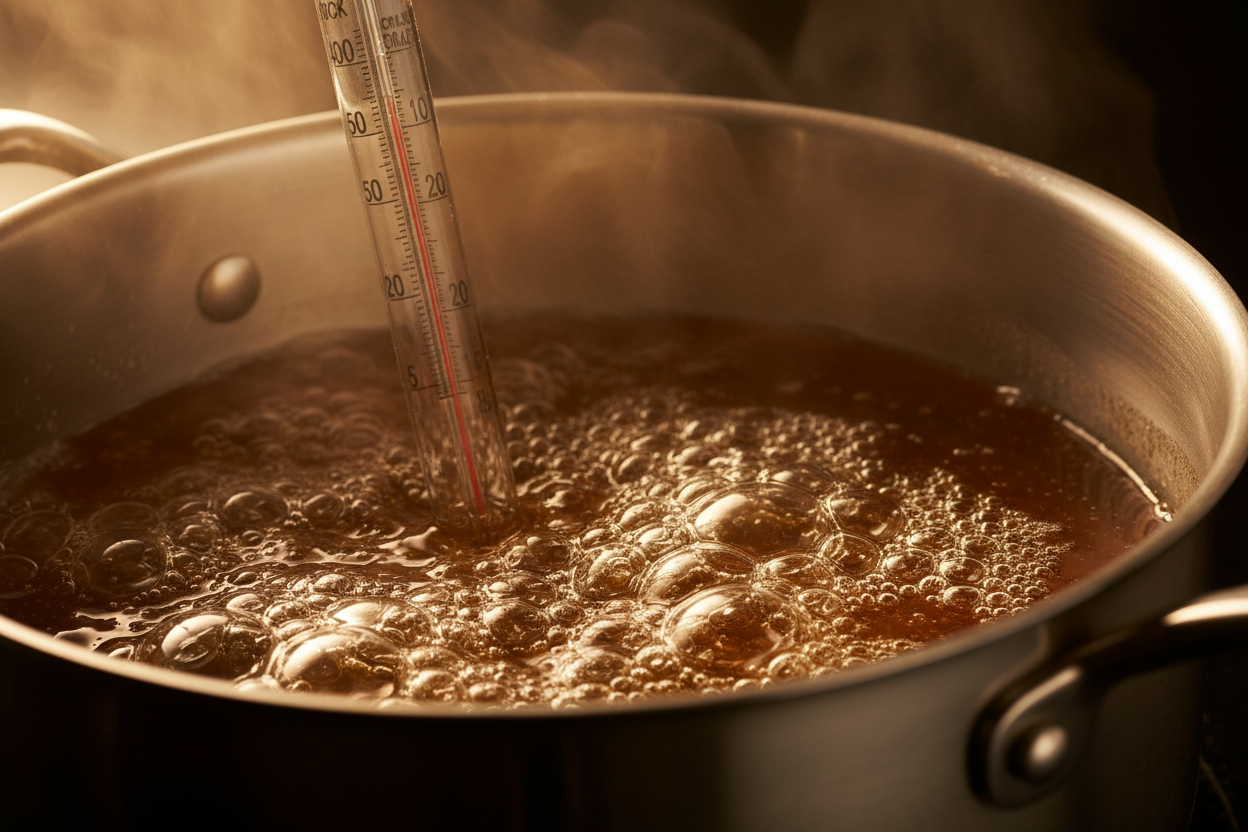
- Insert a candy thermometer into the mixture, ensuring it does not touch the bottom of the pan. Continue to boil the mixture without stirring until the thermometer registers exactly 300 degrees Fahrenheit. This precise temperature is known as the hard crack stage, where the sugar mixture becomes brittle when cooled.
- Remove the saucepan from the heat immediately once 300 degrees Fahrenheit is reached. Carefully stir in 1 dram of your chosen fruit flavoring oil and 0.25 tsp food coloring until thoroughly combined. Work quickly, as the mixture will begin to thicken.
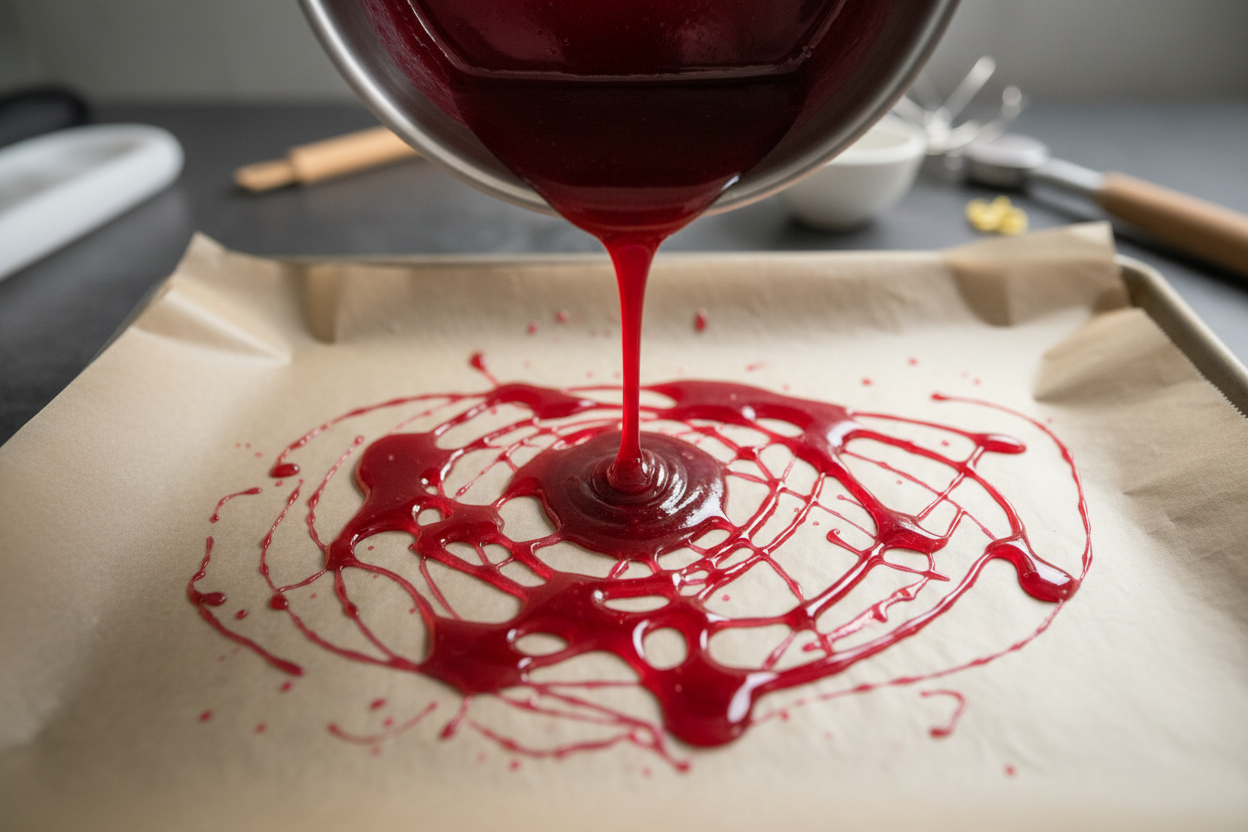
- Pour the hot mixture onto the prepared baking sheet. Spread it evenly if necessary, but avoid excessive manipulation. Let it cool completely and undisturbed until it hardens into a solid slab. This can take several hours at room temperature, or it can be accelerated slightly in a cool, dry place.
- Once completely cooled and hardened, dust the solid candy slab with 0.5 cup powdered sugar. Using a kitchen hammer or the back of a sturdy knife, gently but firmly break the slab into jagged, glass-like pieces. These irregular shapes are what give the candy its “stained glass” appearance. Toss the broken pieces thoroughly in the remaining powdered sugar to prevent them from sticking together. This final coating also provides a pleasant mouthfeel. The result is a collection of beautiful, flavorful broken glass sweet pieces.
Flavor and Color Variations
The beauty of this homemade confection is its versatility. While a single flavor and color are classic, experimenting with combinations can yield stunning results.
“The art of Stained Glass Rock Candy lies in its vibrant visual appeal, achieved through careful coloring and the delicate balance of flavor.”
To create diverse sugar-coated fruit candies:
- Divide and Conquer: Once the sugar mixture reaches the hard crack stage and is removed from the heat, you can carefully divide it into smaller, heat-safe bowls. Add a different fruit flavoring oil and food coloring to each portion before pouring onto separate prepared surfaces.
- Flavor Pairings: Consider classic combinations like cherry red, lemon yellow, lime green, or blue raspberry. Citrus oils tend to be particularly bright and popular.
- Pastel or Deep Tones: Adjust the amount of food coloring to achieve lighter, pastel shades or more intense, deeper hues. Remember that a little food coloring goes a long way.
Proper Storage for Sugar-Coated Fruit Candies
Proper storage is essential to maintain the crisp texture and prevent stickiness. Humidity is the enemy of hard tack candy.
- Store your finished sugar-coated fruit candies in an airtight container at room temperature.
- Layer pieces with wax paper or parchment paper to prevent them from fusing together, even after being tossed in powdered sugar.
- Keep the container in a cool, dry place, away from direct sunlight or sources of humidity, such as ovens or dishwashers.
- If the candy becomes sticky, you can re-dust it with a small amount of fresh powdered sugar.
- Properly stored, Stained Glass Rock Candy can last for several weeks, providing prolonged enjoyment of these festive holiday sweets.
Frequently Asked Questions
Addressing common concerns can help ensure a smooth candy-making experience.
Q: Why did my candy turn grainy instead of clear?
A: Graininess often occurs if the sugar crystals do not fully dissolve at the beginning, or if the mixture is stirred while boiling after the sugar has dissolved. Stirring encourages crystallization. Not reaching the precise hard crack stage of 300 degrees Fahrenheit can also result in a softer, grainier texture.
Q: My candy is sticky, even after I powdered it. What went wrong?
A: Stickiness is usually due to humidity in the air or insufficient powdered sugar. Ensure your kitchen environment is dry when making and storing the candy. You can always re-toss the pieces in more powdered sugar if they start to feel tacky.
Q: Can I use liquid extracts instead of flavoring oils?
A: While possible, flavoring oils are recommended for hard tack candy. Extracts are alcohol-based and contain water, which can interfere with the candy’s set and clarity. Oils provide a more concentrated flavor without affecting the sugar mixture’s chemistry.
Q: How do I clean the saucepan after making hard candy?
A: Do not try to scrape the hardened sugar. Instead, fill the saucepan with hot water and let it sit for a while. The hot water will dissolve the sugar, making cleanup effortless.
Creating your own batch of Stained Glass Rock Candy is a delightful way to celebrate the season and share a piece of cherished tradition. This vibrant homemade confection offers both beauty and flavor, making it a perfect gift or a special treat for your home. With precision and a little patience, you can master the art of this classic hard tack candy. Embrace the joy of crafting these beautiful sugar-coated fruit candies. For more delicious recipes and kitchen tips, follow our updates on Facebook at our Facebook page.
Vintage Sugar-Coated Fruit Candies
Ingredients
- 2 cups Granulated sugar
- 0.75 cup Light corn syrup
- 0.5 cup Water
- 1 dram Fruit flavoring oil Cherry, lemon, or apple
- 0.25 tsp Food coloring Liquid or gel
- 0.5 cup Powdered sugar For coating
Instructions
- Prepare a baking sheet by lining it with parchment paper and spraying lightly with cooking spray.
- In a heavy saucepan, combine 2 cups granulated sugar, 0.75 cup light corn syrup, and 0.5 cup water. Stir over medium heat until sugar dissolves.
- Insert a candy thermometer and boil without stirring until the mixture reaches 300 degrees Fahrenheit (hard crack stage).
- Remove from heat immediately. Stir in 1 dram fruit flavoring oil and 0.25 tsp food coloring.
- Pour the hot mixture onto the prepared baking sheet. Let it cool completely until hardened.
- Dust the cooled slab with 0.5 cup powdered sugar, then break into jagged, glass-like pieces. Toss the broken pieces in remaining powdered sugar to prevent sticking.
For more daily recipes and tips, follow us on Facebook!
Click here to join our community!