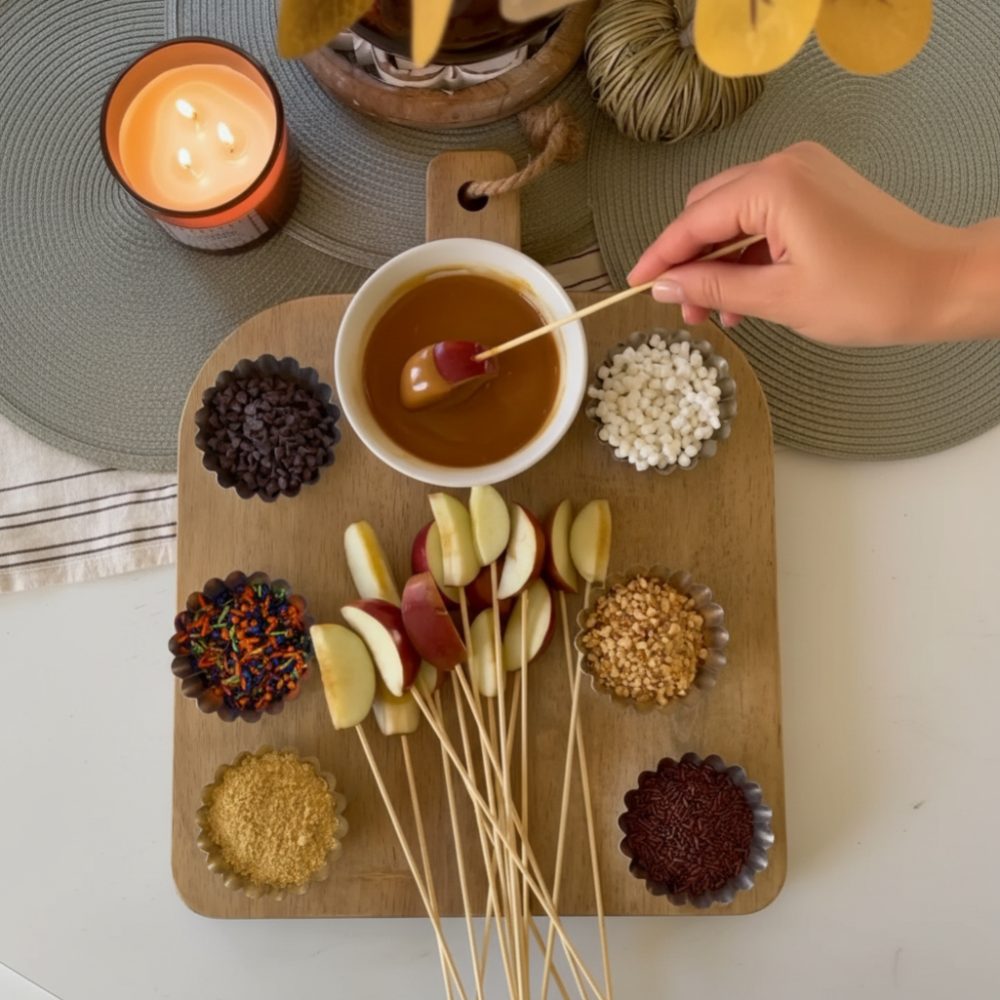
Transform your next gathering into an unforgettable experience with a dynamic Caramel Apple Bar. This highly interactive dessert station moves beyond traditional fall party desserts, offering guests a customizable treat that is both simple to prepare and immensely satisfying to create. Imagine the delighted faces as friends and family assemble their own perfect autumn festival treats, tailoring each bite to their personal preference. This approach minimizes your prep time while maximizing guest engagement, making it an ideal centerpiece for any seasonal celebration.
Hosting an autumn gathering often involves intricate planning, but this DIY candy apple station simplifies your dessert offerings significantly. It requires minimal effort to set up and provides endless entertainment for both kids and adults. Forget complicated baking or delicate plating. Here, the fun lies in the assembly, a hands-on activity that fosters conversation and creativity. It is more than just a dessert; it is an experience, delivering sweet memories alongside delicious bites. The rich aroma of melted caramel will fill your home, signaling the true spirit of the season.
The true beauty of a DIY candy apple station lies in its versatility and ease. You provide the foundation, and your guests become the artists. This interactive concept ensures every palate is pleased, from those who love a simple caramel coating to adventurous individuals piling on every topping available. It is a foolproof method for serving a crowd, eliminating the pressure of individual dessert preparation. This effortless elegance makes it a staple for any fall celebration, from casual get-togethers to more elaborate festive occasions.
Essential Ingredients for Your Setup
Creating your ultimate Caramel Apple Bar begins with gathering a precise set of ingredients. Quality components ensure the best flavor and texture, guaranteeing a successful and delicious outcome for everyone. Every item on this list plays a crucial role, contributing to the overall balance of sweet, tart, and crunchy. Adhering to these exact quantities will provide the ideal consistency for your melted caramel dip and a generous array of toppings.
You will need 12 ounces of unwrapped Kraft Caramels. These caramels are chosen for their consistent melt, offering a smooth, pliable texture ideal for dipping. Their classic flavor provides the perfect base for your apple creations. Alongside the caramels, prepare 2 tablespoons of water. This small amount of water is essential for achieving the perfect viscosity, ensuring the caramel becomes a dippable, luscious sauce without becoming too thin or too thick.
For the star of the show, select 4 large honey crisp apples. These apples are renowned for their crisp texture and balanced sweet-tart flavor, which stands up beautifully to the rich caramel. Their natural juiciness and firm flesh make them excellent candidates for slicing and dipping. A good apple selection is paramount for the overall enjoyment of this dessert.
To create an irresistible array of choices for your guests, you will also need several toppings. Prepare 1/2 cup each of graham cracker crumbs, mini marshmallows, mini chocolate chips, and crushed peanuts. These toppings offer a delightful range of textures and flavors. Graham cracker crumbs provide a subtly sweet, sandy crunch. Mini marshmallows add a soft, chewy sweetness. Mini chocolate chips deliver classic chocolatey richness, while crushed peanuts offer a salty, nutty counterpoint and a satisfying crunch. Each topping contributes uniquely to the customizability of your honey crisp snacks.
Step-by-Step Instructions for Your Caramel Apple Bar
Setting up your Caramel Apple Bar is a straightforward process, broken down into a few simple steps. Following these instructions will ensure a smooth, enjoyable experience for both you and your guests. Precision in preparation leads to the best results, guaranteeing perfectly coated apples and a delightful array of customizable options.
1. Prepare toppings by placing graham cracker crumbs, mini marshmallows, mini chocolate chips, and crushed peanuts into small serving bowls. Arrange these bowls appealingly on your serving table. Ensure each bowl has a small spoon for guests to easily sprinkle their desired toppings onto their caramel-coated apple slices. This initial step makes the subsequent assembly process efficient and organized. The visual appeal of varied toppings also enhances the inviting atmosphere of your dessert station.
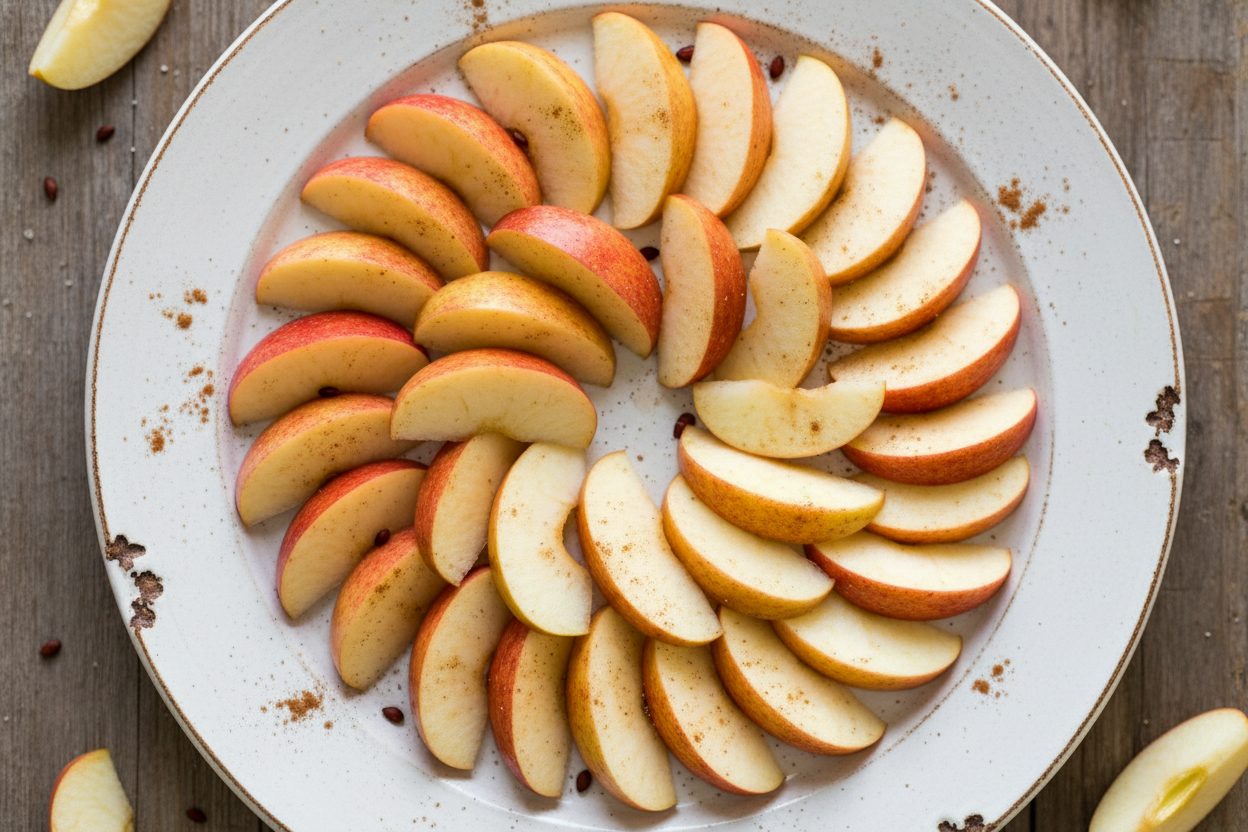
2. Core and slice the honey crisp apples into wedges, arranging them on a serving platter. For a standard apple, cutting into 8-10 wedges typically works well, providing manageable bite-sized pieces. Ensure the slices are not too thin, as they need to hold up to dipping. Remove any seeds or stem remnants for a clean presentation. The firm texture of the honey crisp apples makes them ideal for this preparation, maintaining their crispness even after slicing.
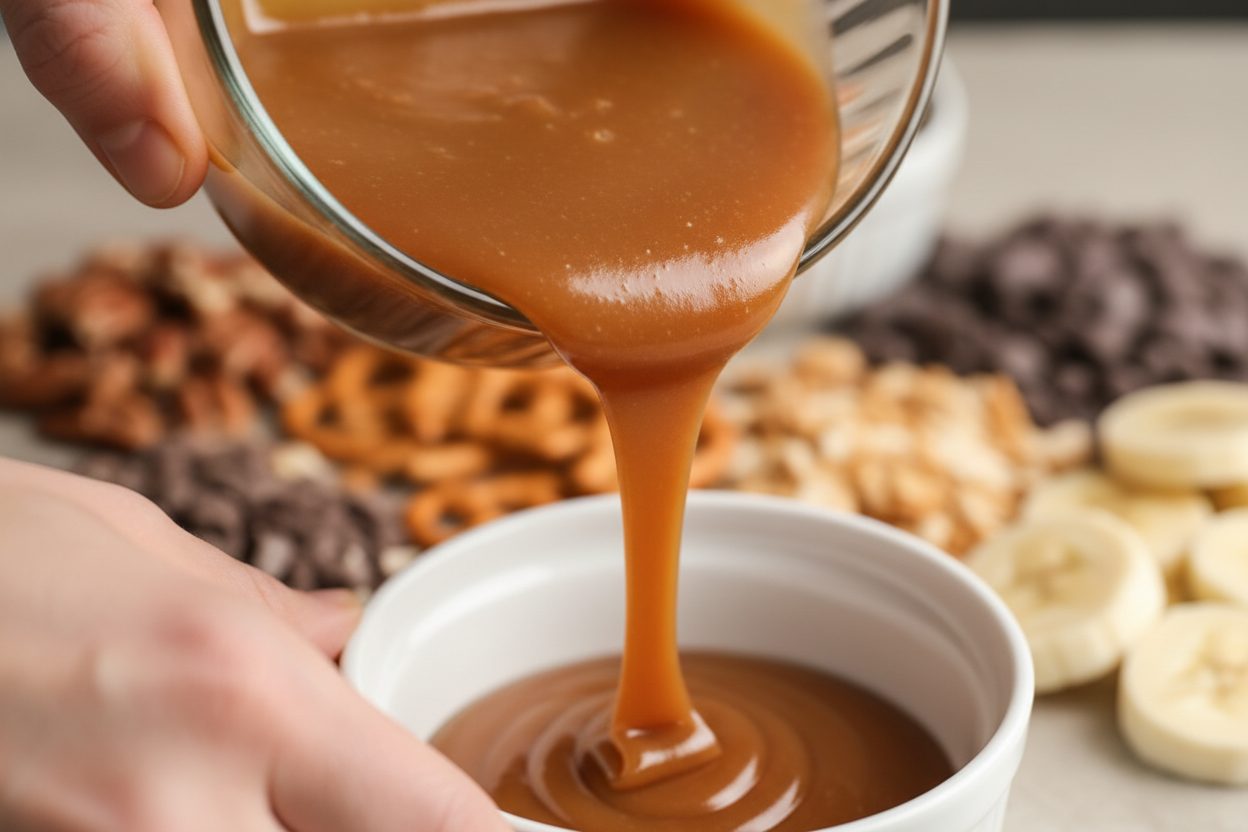
3. Place the unwrapped 12 ounces of Kraft Caramels and 2 tablespoons of water in a microwave-safe dish. Use a dish that is large enough to comfortably hold the melting caramel and allows for easy stirring. A glass bowl or a ceramic dish works perfectly. Ensure all caramels are unwrapped before placing them in the dish to avoid any non-edible surprises.
4. Heat in the microwave for 2 minutes, stopping to stir thoroughly after the first minute. After the initial 1 minute, remove the dish from the microwave and stir the caramels and water with a sturdy spoon or whisk. This helps to distribute the heat evenly and prevents the caramel from scorching. Return the dish to the microwave for the remaining 1 minute. The caramel should be smooth and completely melted, forming a luxurious melted caramel dip. If it appears too thick, you can add another half teaspoon of water and microwave for an additional 15-20 seconds, stirring well.
5. Serve the warm dip immediately alongside the apple slices and assorted topping bowls. The caramel dip is best when warm and fluid. Present all components together in an accessible layout, allowing guests to move easily from apples to caramel to toppings. This setup promotes the interactive nature of the Caramel Apple Bar, encouraging guests to personalize their fall party desserts.
Best Apples to Use for Your Caramel Apple Bar
The choice of apple is paramount to the success of your Caramel Apple Bar. The ideal apple provides a contrast in both texture and flavor to the rich, sweet caramel. Honey crisp apples are consistently recommended for this very reason. Their exceptional crispness offers a satisfying snap with every bite, a refreshing counterpoint to the creamy caramel. Furthermore, their balanced sweet-tart flavor profile prevents the overall dessert from becoming overly cloying. The natural acidity of the honey crisp cuts through the sweetness of the caramel and toppings, creating a harmonious and addictive flavor combination. This apple variety also holds its shape well after slicing, which is crucial for dipping.
For those seeking an alternative, Granny Smith apples are a great choice. These apples are known for their pronounced tartness and firm flesh. The vibrant acidity of a Granny Smith apple provides an even stronger contrast to the sweet caramel, which many find incredibly appealing. If you prefer a dessert with a more assertive tart component, Granny Smith apples will deliver. Regardless of your choice, select apples that are firm to the touch, free of bruises, and thoroughly washed before preparation. Dry them completely before slicing to ensure the caramel adheres properly. The quality of your apple selection directly impacts the overall enjoyment of these delightful honey crisp snacks.
Pro Tips for the Best Caramel Apple Bar Experience
Ensuring your Caramel Apple Bar runs smoothly and provides the best possible experience for your guests involves a few key pro tips. These suggestions address common challenges and enhance the overall enjoyment of your DIY candy apple station. Implementing these ideas will elevate your setup from good to truly exceptional, making your autumn festival treats a highlight of the season.
First and foremost, keep the melted caramel dip warm using a small fondue pot or slow cooker on the warm setting to prevent it from hardening during your party. Caramel, by nature, thickens as it cools. A warm, flowing caramel is essential for easy and enjoyable dipping. If using a fondue pot, set it to the lowest heat setting. For a slow cooker, ensure it is on the “warm” setting, not “low” or “high.” Stir the caramel periodically, even when warm, to maintain its smooth consistency. This continuous warmth ensures that every guest, regardless of when they visit the bar, experiences the perfect dippable caramel.
Consider providing wooden skewers or small forks for easier dipping. While apple slices are manageable, some guests might appreciate the extra tool for a cleaner dipping process, especially children. Place a small plate or napkin near the caramel dip for guests to rest their apple slices before moving to the toppings section, minimizing drips.
To enhance the visual appeal and flow of your Caramel Apple Bar, arrange your components strategically. Start with the apple slices, followed by the warm caramel dip, and then the array of toppings. This logical progression guides guests through the assembly process efficiently. Labeling your topping bowls, even with simple handwritten cards, can add a charming touch and help guests identify options, especially if you include less common selections.
Remember to have a few extra plates or small bowls available for guests to carry their personalized caramel apples. This prevents sticky fingers and allows them to enjoy their customized treat comfortably. A small waste bin nearby for any discarded apple cores or used skewers is also a thoughtful addition. These small details contribute significantly to a seamless and enjoyable DIY candy apple station experience for everyone involved. The goal is to make the process as effortless and fun as possible, letting the interactive nature of the dessert shine through.
This Caramel Apple Bar transforms a simple idea into an engaging activity, perfect for any fall gathering. It epitomizes the joy of shared experiences and the deliciousness of custom-made treats. Your guests will leave with fond memories and satisfied palates, having indulged in a truly unique and delightful dessert.
For more creative ideas, behind-the-scenes glimpses, and exclusive recipes that will make your next event a sensational success, be sure to follow our community on social media. You will find endless inspiration and connect with fellow food enthusiasts. Follow our Facebook page for daily culinary delights and updates.
5-Minute DIY Candy Apple Station
Ingredients
- 12 oz Kraft Caramels Unwrapped
- 2 tbsp water
- 4 large honey crisp apples Cored and sliced
- 1/2 cup graham cracker crumbs
- 1/2 cup mini marshmallows
- 1/2 cup mini chocolate chips
- 1/2 cup crushed peanuts
Instructions
- Prepare toppings by placing graham cracker crumbs, mini marshmallows, chocolate chips, and crushed peanuts into small serving bowls.
- Core and slice the honey crisp apples into wedges, arranging them on a serving platter.
- Place unwrapped caramels and water in a microwave-safe dish.
- Heat in the microwave for 2 minutes, stopping to stir thoroughly after the first minute.
- Serve the warm caramel dip immediately alongside the apple slices and assorted topping bowls.
For more daily recipes and tips, follow us on Facebook!
Click here to join our community!