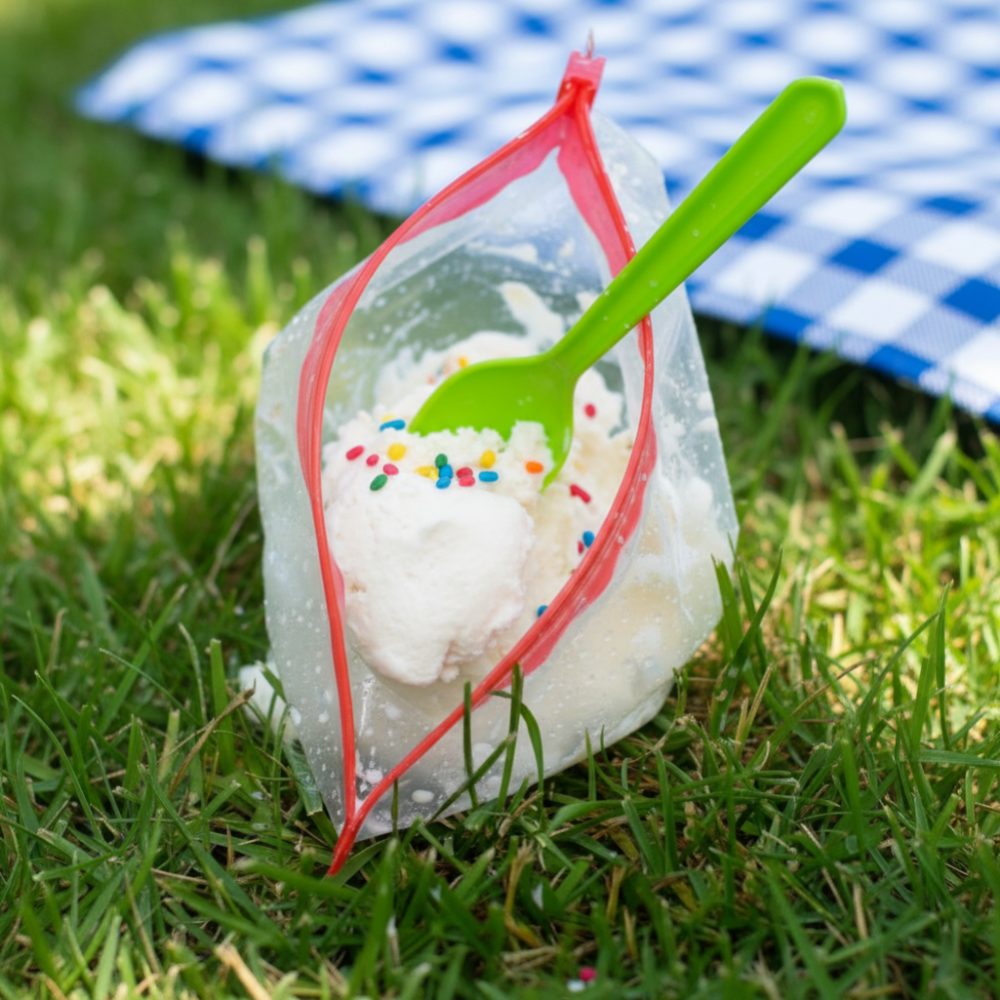
Creating your own frozen treats at home is a fantastic way to engage children and deliver a delicious reward. This hands-on method removes the need for expensive machines and brings culinary science directly into your kitchen. It is an ideal DIY frozen dessert, perfect for a sunny afternoon or as part of fun kids summer activities. You can achieve a creamy, delightful homemade vanilla treat without specialized equipment, just a few simple ingredients and a bit of enthusiastic shaking. This approach makes dessert preparation an interactive experience, yielding a satisfying result in minutes.
Why Bag-Churned Desserts Are Perfect for Summer
The appeal of a bag-churned recipe lies in its simplicity and interactive nature. For anyone seeking easy summer snacks, this method stands out. It transforms basic dairy products into a rich, creamy dessert without the fuss of traditional ice cream makers. The process involves minimal cleanup and offers instant gratification. Children especially enjoy the active role they play in creating their own dessert, making it more than just a snack, but an experience. This approach provides a refreshing break from the heat, delivering a personalized frozen delight with ease.
Essential Ingredients
Gathering the components for this simple frozen treat is straightforward. You will need a few common kitchen staples to prepare your Ice Cream in a Bag. The success of this recipe relies on precise measurements and quality ingredients.
- 1/2 cup Heavy whipping cream
- 1/2 cup Whole milk
- 2 tbsp Granulated sugar
- 1/2 tsp Vanilla extract
- 2 tbsp Sprinkles (for serving)
- 3 cups Ice cubes
- 1/3 cup Rock salt
These ingredients combine to form the perfect base for a rich, creamy texture. The rock salt for freezing is a critical component, enabling the rapid chilling process that produces smooth ice cream. Ensure all ingredients are fresh for optimal flavor.
Step-by-Step Preparation
Achieving perfectly churned Ice Cream in a Bag is a matter of following these steps precisely. The method is designed for efficiency and enjoyment, especially as a kids summer activity. Pay close attention to sealing the bags to prevent any leaks.
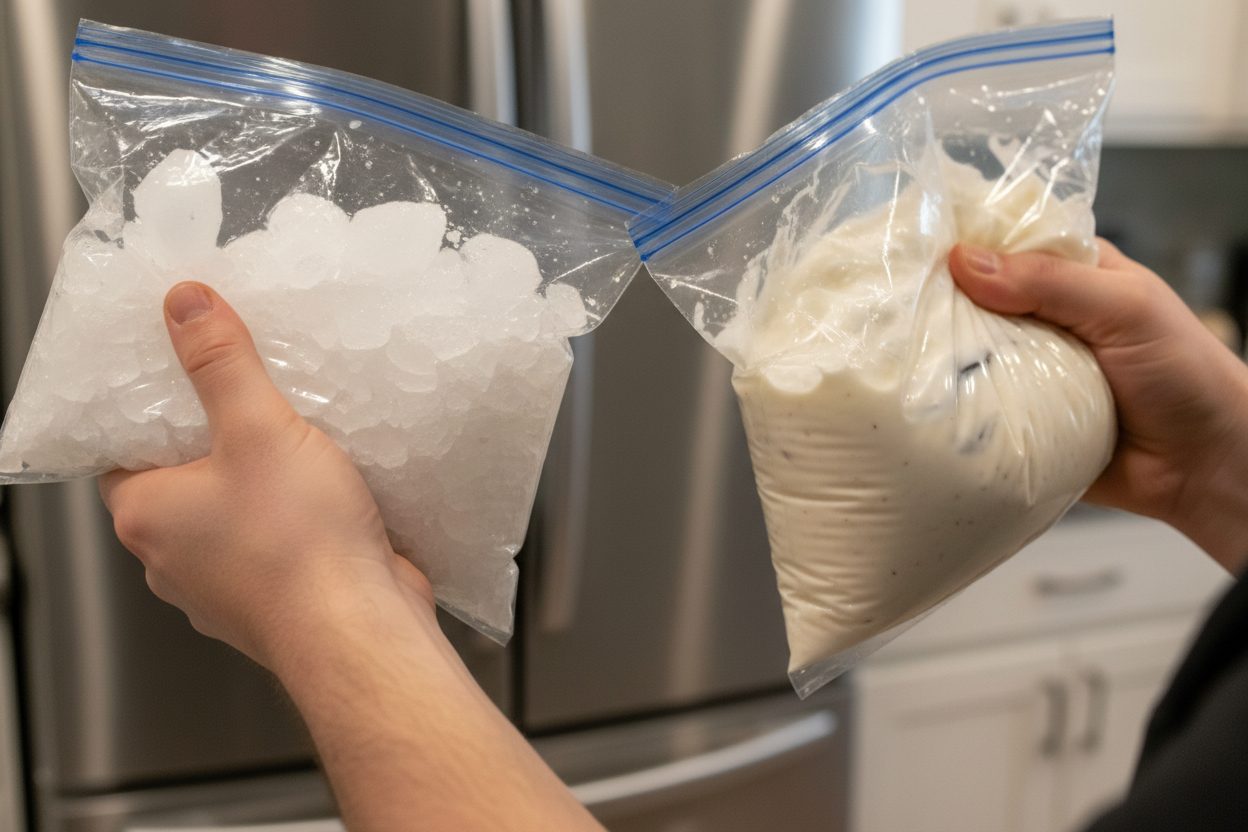
- In a small zip-top bag, combine 1/2 cup heavy whipping cream, 1/2 cup whole milk, 2 tbsp granulated sugar, and 1/2 tsp vanilla extract. Seal the bag tightly, ensuring all excess air is removed. This mixture forms the base of your homemade vanilla treat.
- In a larger zip-top bag, add the 3 cups of ice cubes and 1/3 cup of rock salt for freezing. The salt is essential for creating the super-cold environment needed for rapid freezing.
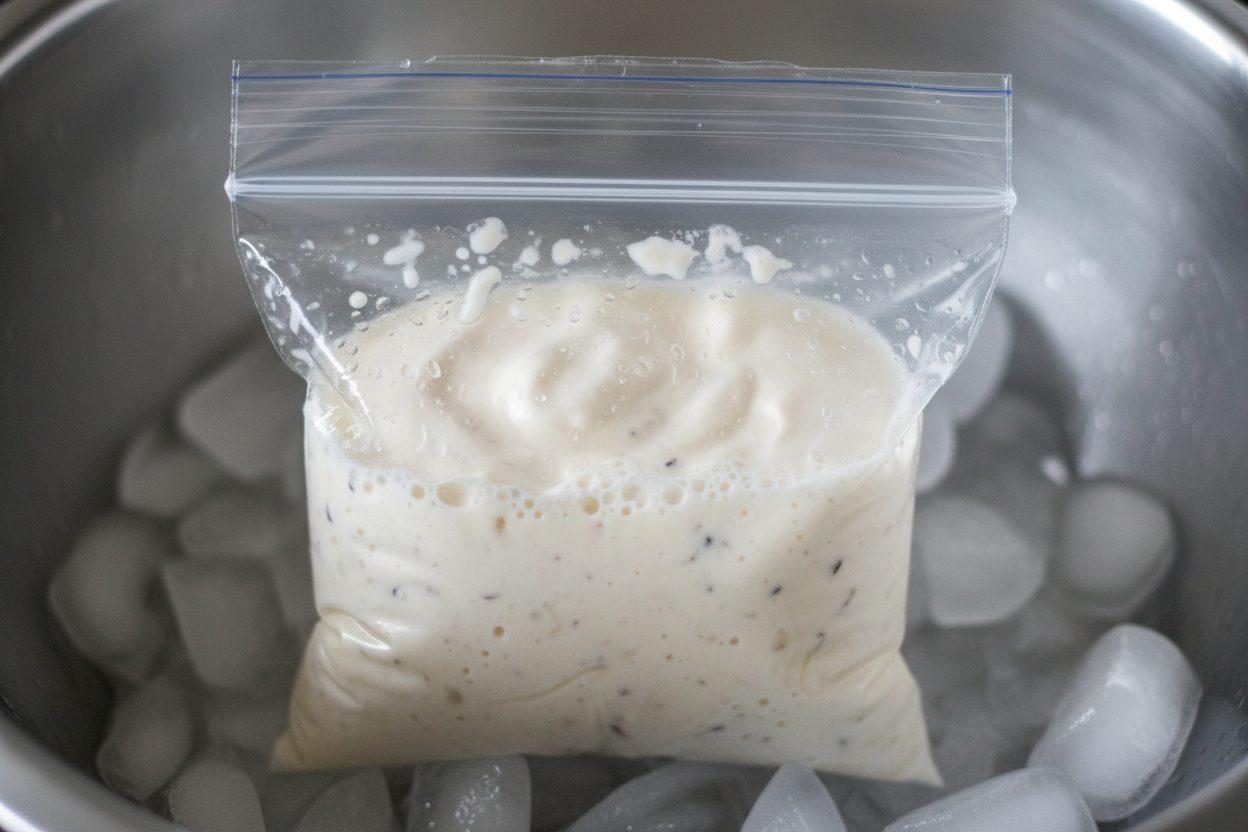
- Place the small sealed bag, containing your liquid ice cream base, inside the larger bag that holds the ice and salt. Seal the large bag securely. This double-bagging technique is crucial for this ziploc bag dessert.
- Begin shaking the bags vigorously for 5 to 7 minutes. This active process of shaking cream and sugar within the cold environment allows the mixture to harden into a solid, creamy consistency. Use gloves or wrap the bag in a towel if it becomes too cold to hold comfortably.
- Carefully remove the small bag from the larger one. Wipe off any salty water from the exterior of the small bag near the opening to prevent it from contaminating your dessert. Scoop the freshly made ice cream into bowls and top with 2 tbsp sprinkles before serving. Enjoy your instant, delicious Ice Cream in a Bag.
The Science Behind the Shake
Understanding the science behind this simple dessert adds to its charm. The addition of rock salt for freezing to ice is not merely a random step; it is a fundamental principle of cryogenics. Salt lowers the freezing point of water. When ice mixes with salt, it creates a brine solution that can reach temperatures significantly below 32 degrees Fahrenheit (0 degrees Celsius). This super-cold mixture then draws heat rapidly from the inner bag containing the cream and sugar mixture.
This quick heat transfer causes the liquid dairy to freeze swiftly. The constant motion from shaking cream and sugar prevents the formation of large, unappealing ice crystals. Instead, tiny crystals develop, resulting in a smooth, creamy texture characteristic of well-made ice cream. This process demonstrates how a simple kitchen experiment can yield a delicious scientific outcome, making it an engaging aspect of this DIY frozen dessert.
Flavor Variations to Try
While the classic vanilla is always a crowd-pleaser, this bag-churned recipe offers versatility for personalization. Experiment with these optional additions to create your own unique homemade vanilla treat experiences:
- Mix in mini chocolate chips instead of sprinkles for a chocolate chip ice cream.
- Add a tablespoon of cocoa powder to the liquid base for a rich chocolate version.
- Mash fresh strawberries and incorporate them into the liquid mixture for a fruity twist.
These simple modifications allow for endless creativity, transforming your basic Ice Cream in a Bag into a customized frozen delight. Always add these variations with the initial liquid ingredients in the small bag.
Frequently Asked Questions
Many common questions arise when attempting this quick and fun DIY frozen dessert. Here are answers to some of the most frequent inquiries:
- Can I use half-and-half?
- Yes, half-and-half works well as a substitute for the milk and cream ratio. It will still yield a creamy texture, though it might be slightly less rich than using heavy cream and whole milk.
- What if I lack rock salt?
- Coarse kosher salt or regular table salt can work, though rock salt is the most efficient. Rock salt’s larger crystal size means it dissolves slower, maintaining the super-cold temperature for a longer period, which is ideal for this freezing process. If using other salts, you might need to shake for a slightly longer duration or add more salt.
These clarifications help ensure your Ice Cream in a Bag experience is successful, regardless of minor ingredient adjustments. The core method remains effective.
Enjoy Your Quick and Creamy Treat
Making Ice Cream in a Bag provides an engaging activity that culminates in a delicious reward. This bag-churned recipe offers a refreshing escape during warm weather, perfect as an easy summer snack or a fun project for all ages. The simplicity of ingredients combined with the interactive method makes it an unforgettable culinary experiment. Whether you stick to the classic homemade vanilla treat or explore exciting flavor variations, the result is consistently satisfying and refreshing.
Share your creations and find more delightful recipes by connecting with us. Follow our culinary adventures and get inspired for your next kitchen project. Join our community for fresh ideas and tips.
Don’t miss out on more delicious recipes and kitchen hacks. Follow our Facebook page for daily inspiration and updates.

5-Minute DIY Vanilla Frozen Treat
Ingredients
- 1/2 cup Heavy whipping cream
- 1/2 cup Whole milk
- 2 tbsp Granulated sugar
- 1/2 tsp Vanilla extract
- 2 tbsp Sprinkles
- 3 cup Ice cubes
- 1/3 cup Rock salt
Instructions
- In a small zip-top bag, combine heavy whipping cream, whole milk, granulated sugar, and vanilla extract. Seal tightly, ensuring excess air is removed.
- In a larger zip-top bag, add the ice cubes and rock salt.
- Place the small sealed bag inside the larger bag containing the ice and salt. Seal the large bag securely.
- Shake the bags vigorously for 5 to 7 minutes until the cream mixture hardens into a frozen dessert consistency. Use gloves or a towel if the bag becomes too cold to hold.
- Carefully remove the small bag, wipe off any salty water near the opening, scoop into bowls, and top with sprinkles before serving.
For more daily recipes and tips, follow us on Facebook!
Click here to join our community!