Making a perfect pie crust can be a daunting task for novice bakers. Many factors contribute to achieving a flaky and delicious crust, but avoiding common pitfalls is essential. This article aims to highlight what not to do when making pie crust to help you achieve baking success.
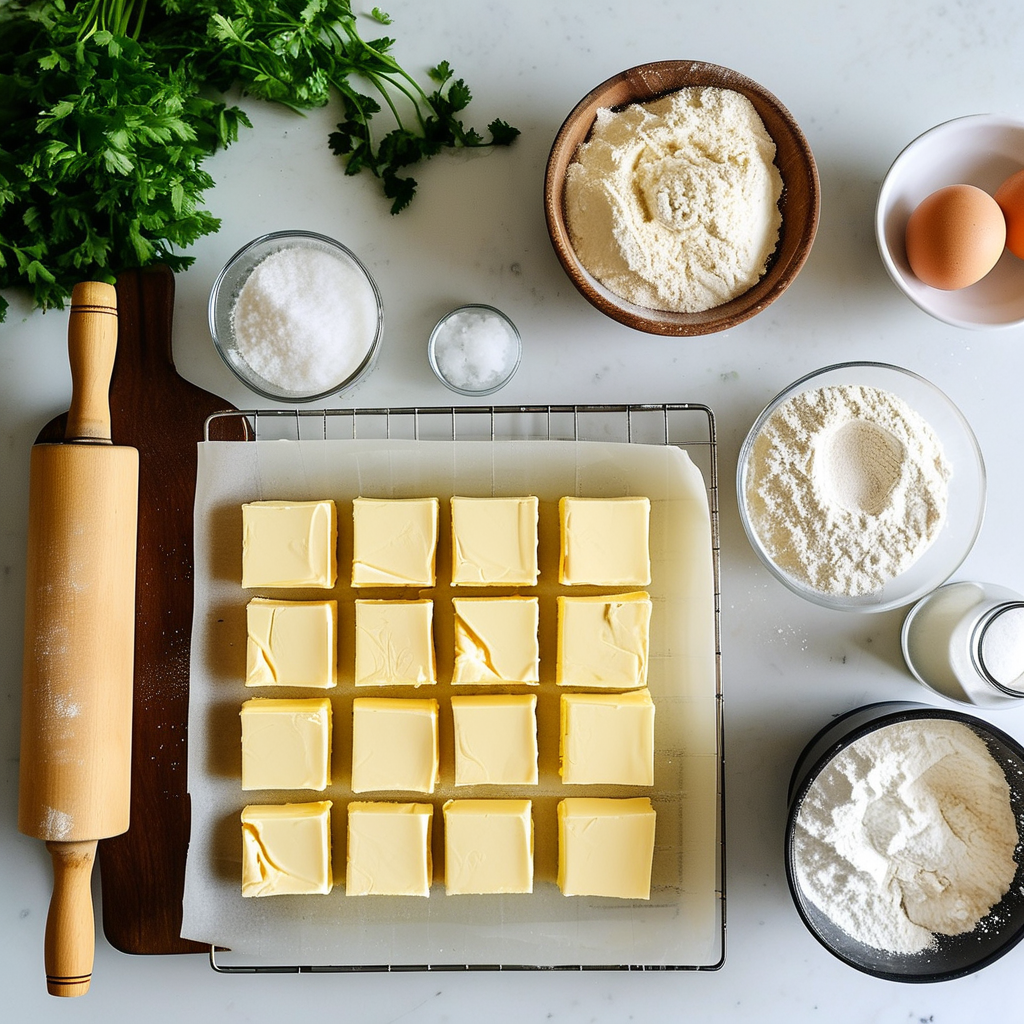
The right techniques can make all the difference. For further guidance on ingredients, check out tips on using the right flour for crusts.
Whether you’re a seasoned baker or just starting, understanding potential mistakes is crucial. For example, did you know that chilling your ingredients is key to a great pie crust? Learn more about this importance of chilling your ingredients.
Mistake #1: Not Chilling Your Ingredients
Temperature matters greatly in baking. Using warm ingredients can lead to undesirable outcomes. Here’s why:
- Warm butter can cause the dough to become greasy.
- Flour should maintain a cool temperature to keep the crust flaky.
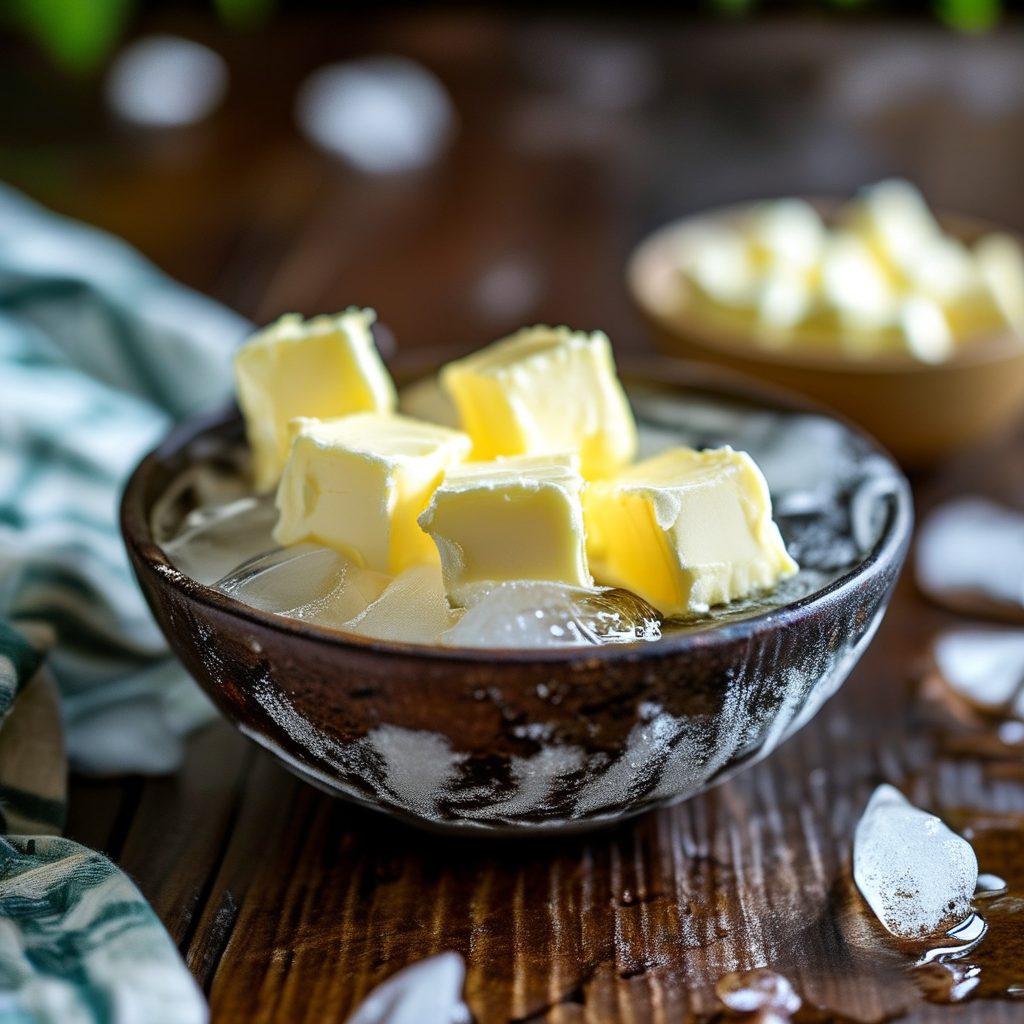
To avoid this mistake, ensure you chill your butter and water before mixing.
Chilling Techniques
Some effective chilling techniques include:
- Cutting butter into small cubes and refrigerating them.
- Using ice water for mixing the dough.
Mistake #2: Overworking the Dough
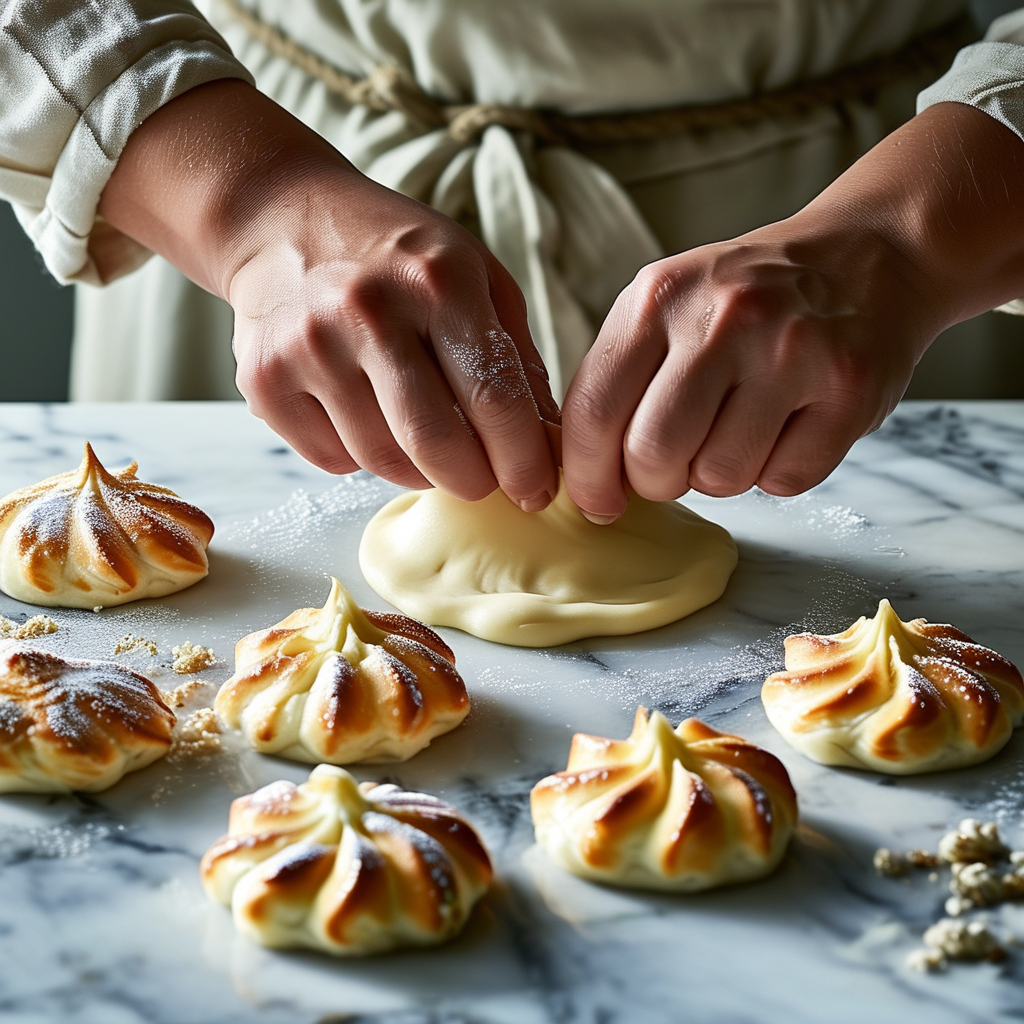
Another common mistake is overworking the dough, which activates gluten and leads to a tough texture. If the dough is too elastic or stiff, you may have overworked it. Here are signs you’re overworking:
- The dough springs back when you try to roll it.
- The texture feels rubbery.
Gentle Handling Techniques
To handle your dough effectively:
- Use your fingertips to blend ingredients.
- Roll quickly without applying excessive pressure.
Mistake #3: Skipping the Rolling Process
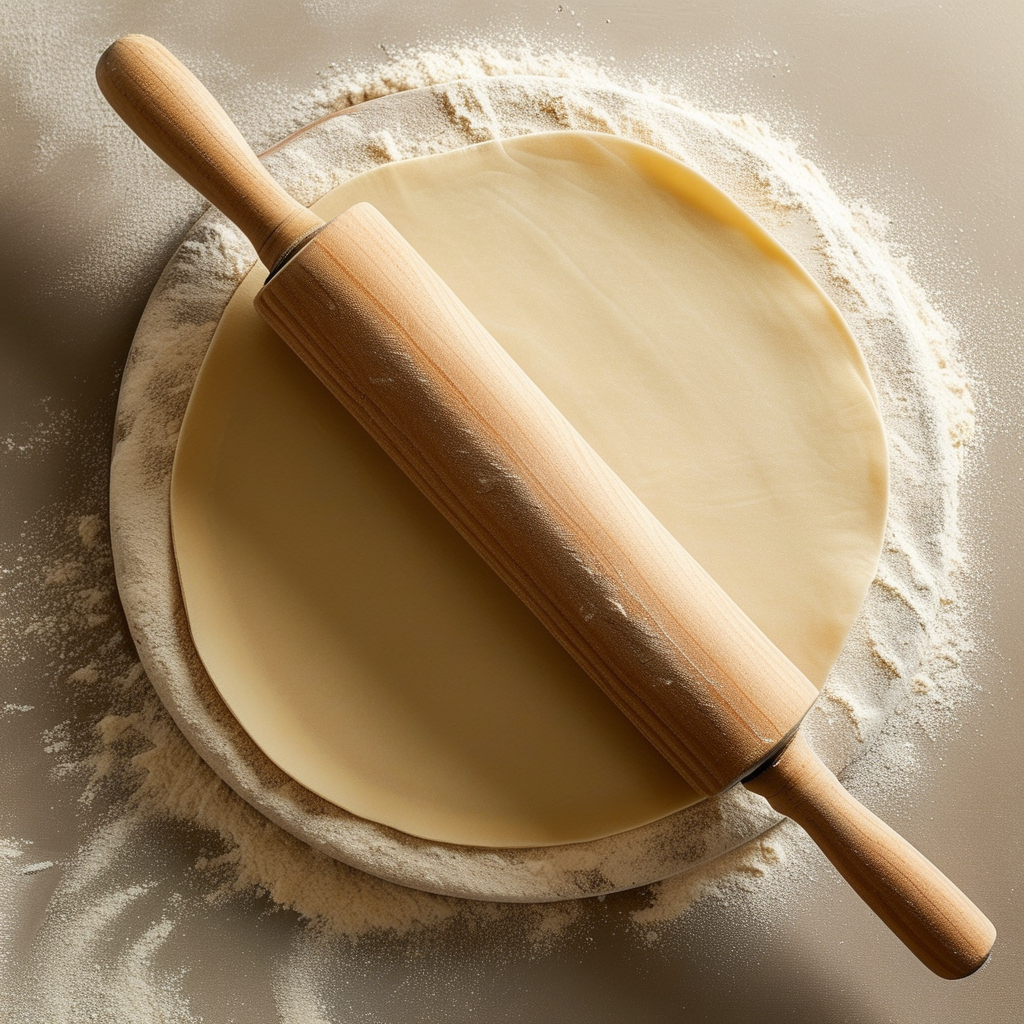
Rolling out your dough ensures uniform thickness. Skipping this step can lead to uneven cooking. Here’s what happens if you don’t roll:
- Thicker spots may not bake well.
- Thin spots may burn quickly.
Techniques for Proper Rolling
To avoid tears and ensure smooth rolling:
- Use a well-floured surface.
- Begin rolling from the center and move outward.
Mistake #4: Using the Wrong Flour
The type of flour impacts your pie crust significantly. Here’s a breakdown:
- All-purpose flour is ideal for pie crusts.
- Avoid using self-rising flour, which can alter the dough’s consistency.
Recommended Flour Types
For the best results, consider:
- All-purpose flour for versatility.
- Pastry flour for a more tender pie crust.
Mistake #5: Not Using Enough Salt
Salt is essential for enhancing pie crust flavor. Without it, the crust may taste bland. Remember:
- A pinch of salt goes a long way.
- Too little salt can result in an unappealing flavor.
Appropriate Salt Amounts
For optimal taste, aim for:
- 1/4 teaspoon of salt for every cup of flour.
Mistake #6: Ignoring the Resting Period
Letting the dough rest is vital for gluten relaxation. If ignored, the dough may spring back when rolled out. Here’s what to do:
- Wrap the dough in plastic.
- Chill for at least 30 minutes.
Signs It’s Time to Rest
Look for the following signs:
- The dough feels very elastic.
- It springs back quickly when pressed.
Mistake #7: Neglecting to Pre-Bake
Pre-baking your crust is necessary for certain types of pies to prevent sogginess. Avoid common pre-baking mistakes:
- Not using pie weights can lead to bubbly crusts.
- Over or underbaking affects texture.
Successful Pre-Baking Tips
For effective pre-baking:
- Use parchment paper and pie weights.
- Bake until lightly golden for best results.
Mistake #8: Using Too Much Flour When Rolling
Excessive flour can lead to a tough crust and stickiness issues. Alternative methods:
- Use alternatives such as wax paper.
- Dust your rolling pin lightly instead.
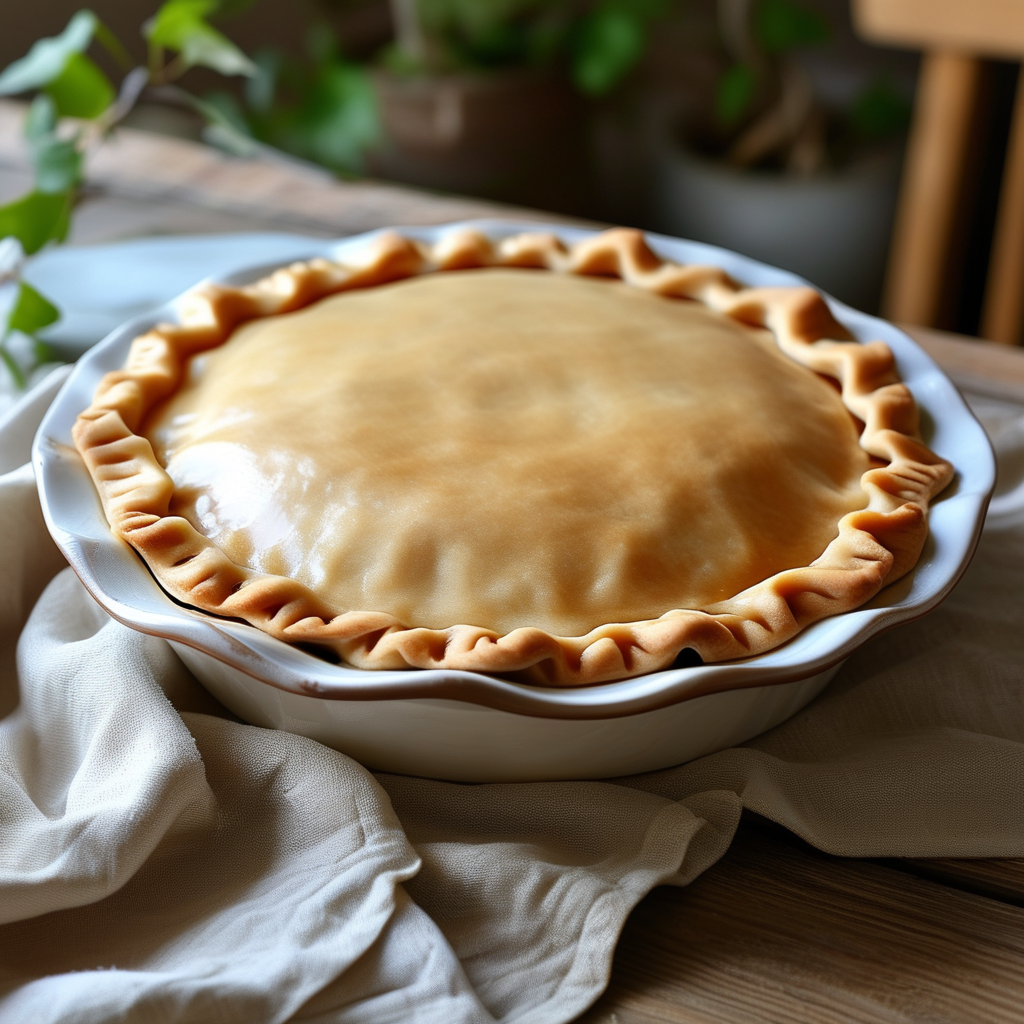
Mistake #9: Forgetting About the Edge
Pie crust edges may seem minor, but they are essential for both aesthetics and function. Neglecting them can lead to:
- Uneven cooking or burnt edges.
- A lack of decorative quality.
Crimping Techniques
Consider these techniques for well-shaped edges:
- Pinch the edges with your fingers.
- Use a fork to create a decorative pattern.
Mistake #10: Not Considering the Filling
Choosing the right filling impacts your crust. Here are key considerations:
- Wet fillings require a sturdier crust.
- Pre-cooking or thickening is vital for wet fillings.
Adjustments Based on Filling Types
For different fillings:
- Consider the moisture level.
- Adjust baking times as necessary.
FAQs
What happens if my pie crust shrinks? Avoid shrinkage by chilling the dough properly. Can I fix a tough pie crust? Sometimes, gently kneading in cold water can help. How do I know when my pie crust is done? Look for a golden color and a firm texture. What types of fats can I use? Alternatives to butter include shortening and lard. How long can I store pie crust before baking? Refrigerate or freeze dough for optimal freshness.
To create the perfect pie crust:
- Always chill your ingredients and dough.
- Handle your dough gently to prevent overworking.
- Properly roll your dough and pay attention to the edges.
- Pre-bake when necessary and adjust for your filling type.
Conclusion
Avoiding these common mistakes will set you on the path to baking a perfect pie crust. Remember, practice makes perfect, and learning from errors in the kitchen is part of the baking journey. Embrace the process and enjoy creating delicious pies!